Sato crimping system. Part 1

Need a Tackle FIX?, This is the Place
mojomizer
Contributor/Donator '08
Posts: 1205
Joined: Sat Jan 12, 2008 4:38 pm
16
Location: Orange County

Sato crimping system. Part 1

#1

Post by mojomizer »

While waiting for my GTS 60 XH and GTS 70 H Hercules Blanks to come in. I was playing around with my Sato Crimp set. Do not know how many are using this system. It has proven itself fishing 200 to 300 lb. Yellowfin tuna out of San Diego.

The only spectra I'll use is Jerry Brown Hollow. This is 80 lb. Hollow to 100 lb. mono. Usually I'll use the soft Aluminum crimp and change top shots every trip. I like short 15 feet topshots. More on why later.

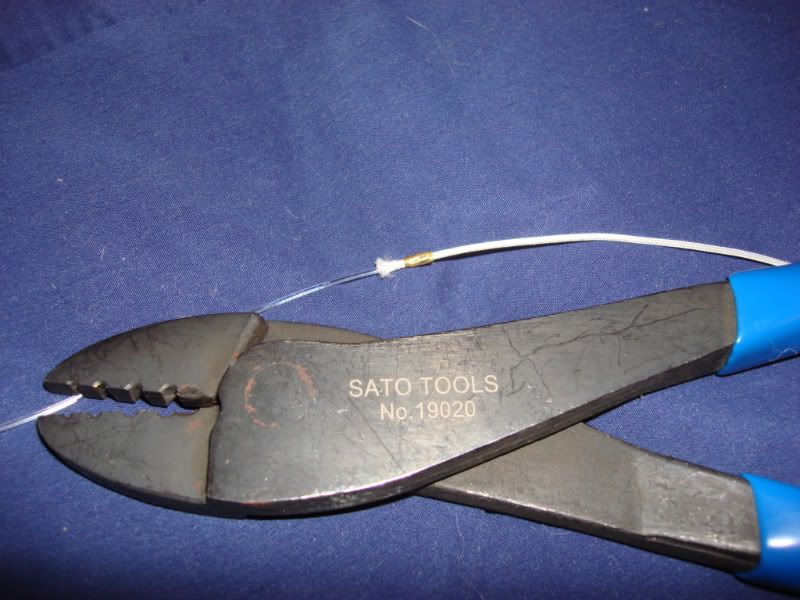
For visual purposes I am using a brass crimp. The hair is used as a referance to show how small the crimp actually is. This tool helps sliding the crimp onto the spectra.

Image

You can have the great Googly Moogly moment if you forget sliding the crimp onto the spectra first. Akin to putting a reel on a rod backwards but not like plowing furrows with your motor down.

Image

Image

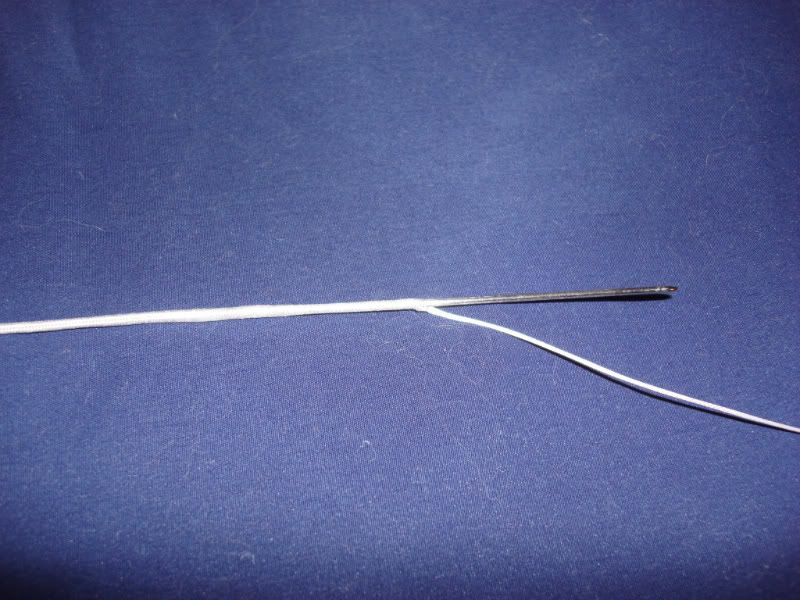
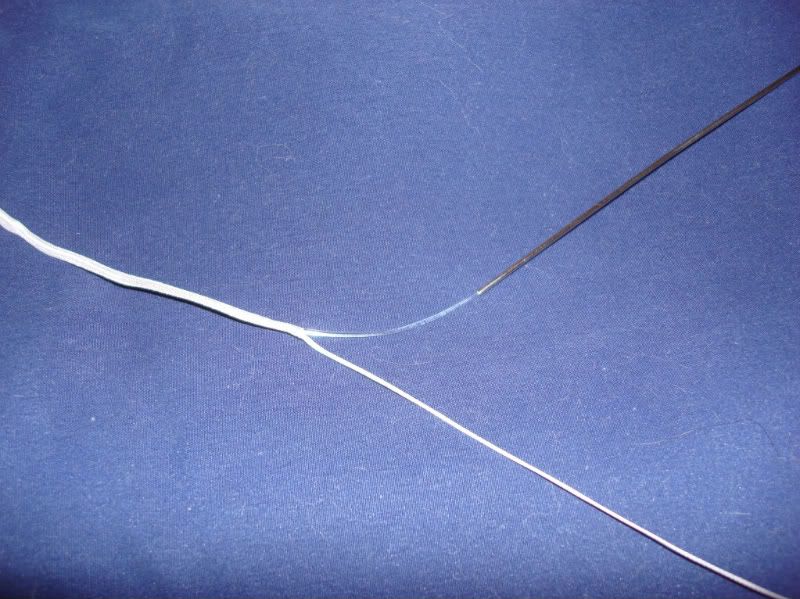
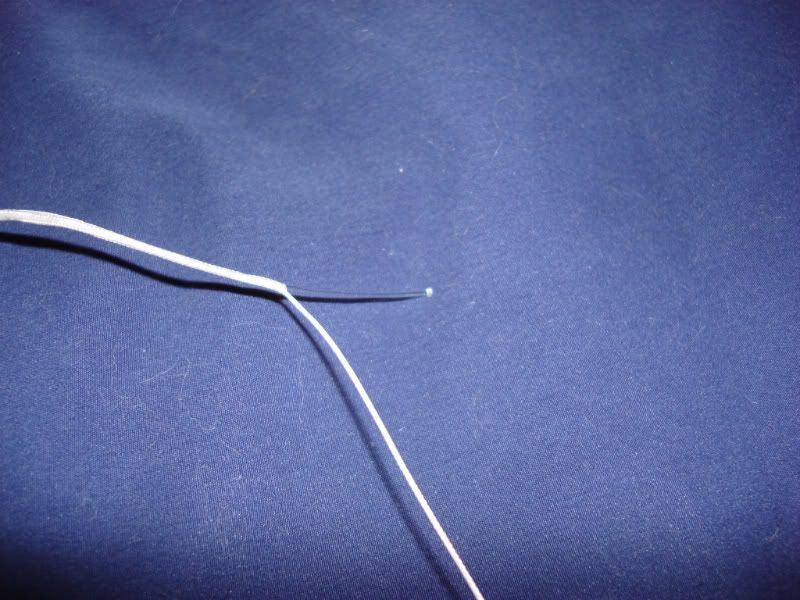
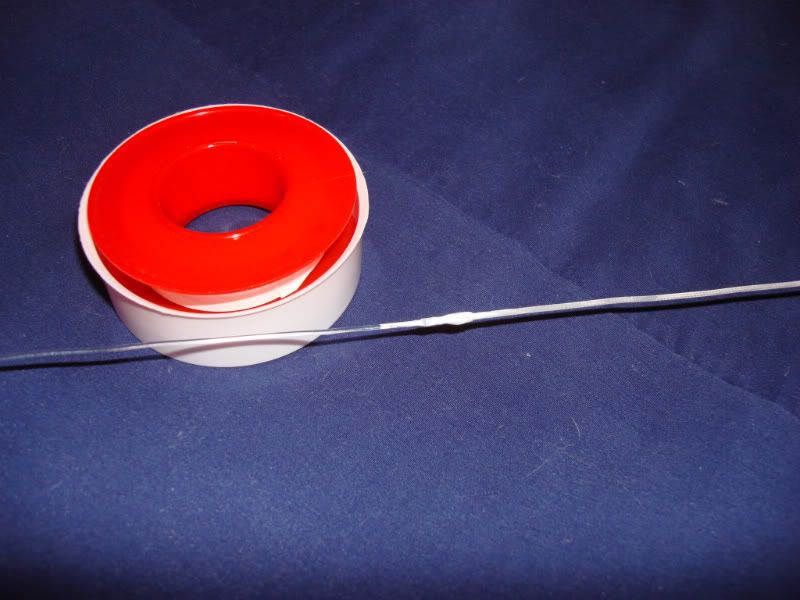
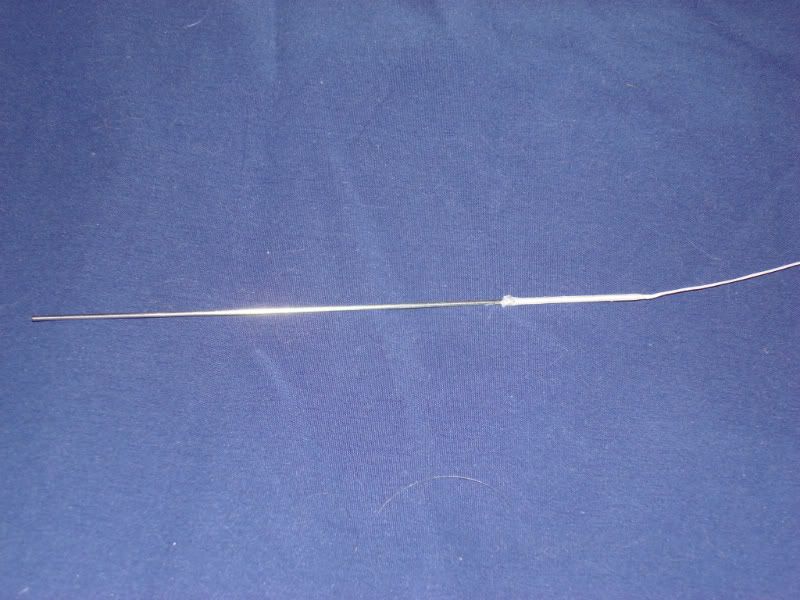
Now that is done time to check your eyes and motor skills. A Threading needle tool is so helpful. Getting the needle started is fairly easy. Once started do not push the needle. More like push the line on the needle to advance the line down the needle. The best desciption I can use is like a inch worm movement. Keep things loose when sliding. If you ever played with a Chinese finger trap you want to avoid traping the needle. Later this very principal will help you though.

Image

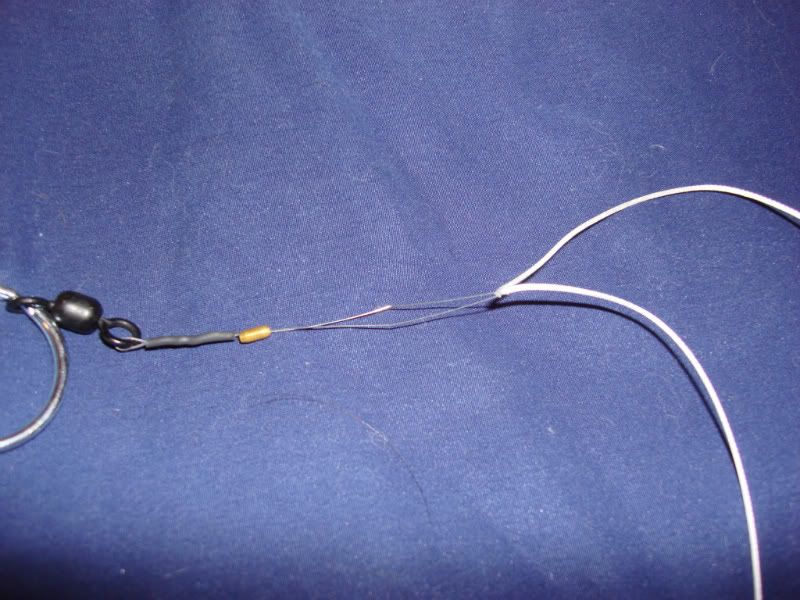
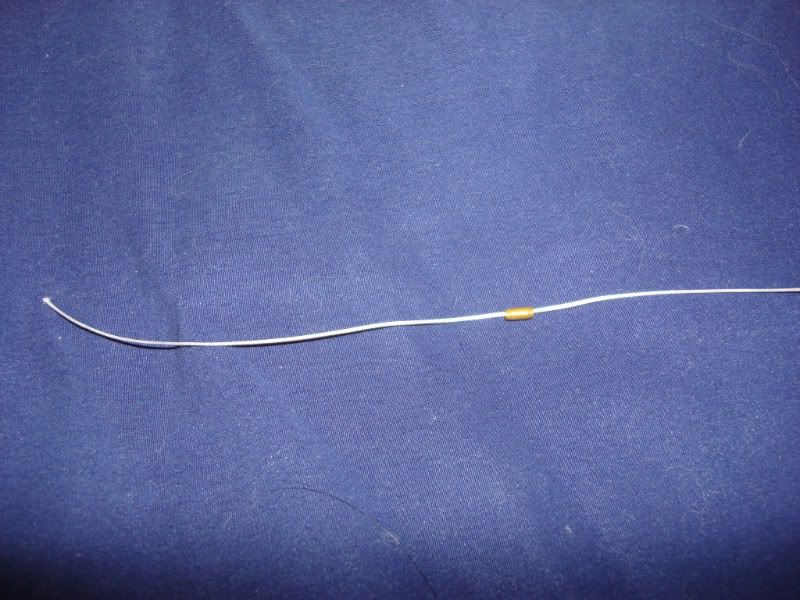
Cut the 100 lb. topshot line at a sharp angle.

Image

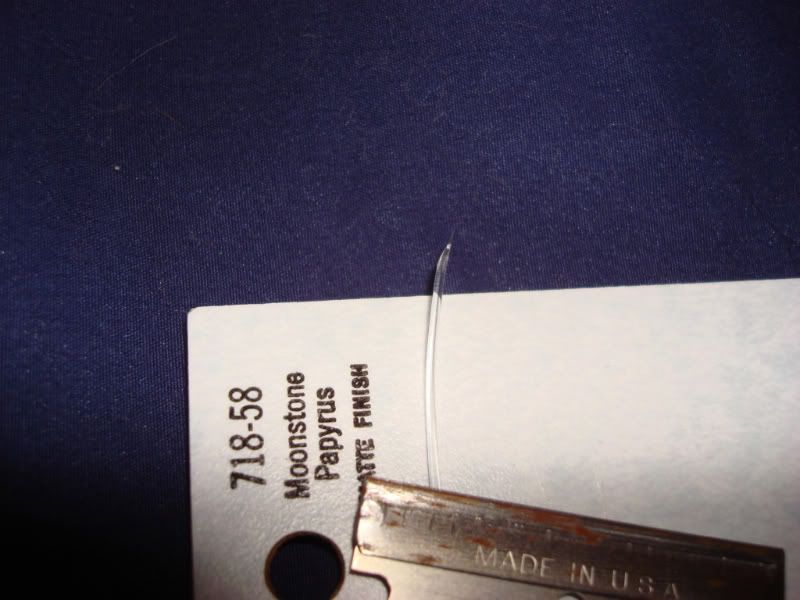
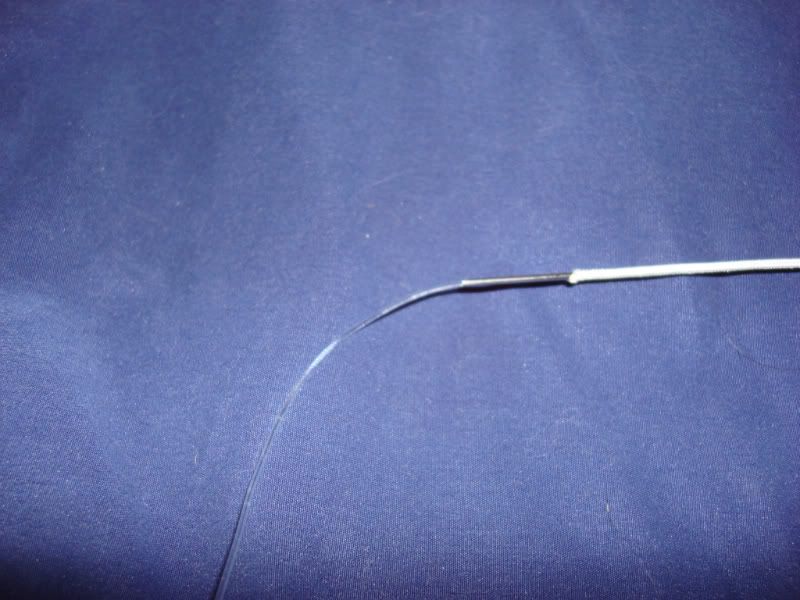
Slide the sharp angle into the end of the threading needle. It should fit snug. (different needles for different line sizes) The needle is hollow so shove the line all the way in. you do not want the line to slip out half way through the process. Make sure the line has no obstructions pulling it from the needle.

Image

So I do not blow Welder's pink princess computer up this will be continued on part 2


Hope this is informational

Mark
2325 Wa Pacificskiff
Mark
2325 WA PACIFICSKIFF
User avatar
welder
Site Admin
Posts: 4668
Joined: Thu Jan 03, 2008 11:51 pm
16
Location: Whitesboro, Texas
Contact:

Re: Sato crimping system. Part 1

#2

Post by welder »

Don't be dissing my PPC Mark, :rotfl:

Mark , you have a PM, let me know if it came through.
Lester,
PacificV2325, Honda BF225
2386
mojomizer
Contributor/Donator '08
Posts: 1205
Joined: Sat Jan 12, 2008 4:38 pm
16
Location: Orange County

Re: Sato crimping system. Part 2

#3

Post by mojomizer »

Ok hopefully no computer melt downs or land line lock ups.

Using the inch worm technique. Remember spectra is slid up the needle, pushing will cause impending doom and a Chernoble type meltdown of one pysyche.

Image

Inch by inch move the needle up the spectra. At 5 feet (took me a couple minutes max) push the needle through the spectra. Hopefully the 100 lb. mono is still in the hollow of the needle. (never have I had it come out.)

Image

Work the needle half way out. Pull the needle free of the spectra. The cut end of the Mono should be sticking out.

Image

Cut the sharp angled mono line flat.

Image

Pull the mono line back into the spectra. Smooth the 5 feet of line and spectra. Slide the crimp down to 1/4 inch from the
spectra mono conection point. Using the special Sato crimping tool. It has design tolerances of less then 5000 of a inch.
The crimp pattern will have one end smaller then the other. Place the small end towards the mono and crimp using a firm handshake type grip. Rotate the crimp 90 degrees and place the smaller end of the crimping tool towards the spectra side and crimp using the firm handshake grip. Too much crimping pressure is a bozo no no and a limp handshake is just plain wierd.

Image

Smooth out the frayed end of spectra and apply a drop of adhesive (cynoacrylate/ superglue) smooth it out. Apply the adhesive 1" to 2" above the crimp on the spectra.

Image

What I do extra is use Pliobond (Fly shop rubber coating for servings) and wrap with teflon plumbers tape to make an extra smooth transition thruogh my guides.

Image

I find that I can do the whole process under 5 minutes on a rocking boat. Pliobond takes a little time to dry. I love this system of wind on leader.

Most asked questions:

Will the aluminum crimps break my guides? Have not seen that happen on the long range trips. The aluminum crimps are alot softer then the guides. If still uncomfortable pliobond and teflon tape.

Why do you like such short top shots? Works for me. Less wear of the interconnect when fighting the fish. The only time the interconnects touch the guides is the initial Casting out and winding the end game on a fish or end of a day.

Why change after every trip. Aluminum, salt water and wet line. It only takes 5 minutes to have confidence for that fish of a lifetime.

Why 5 foot? Insures the Chinese finger trap phenomenon happens. If the unlikely slippage takes place I have room for error.

Any other things I can do? Yes slide the crimp down, slide the line back out, melt a ball on the end of the mono, slide back into the the spectra. Last gasp the ball catches on the crimp.

Why not tie a serving? Crimps are faster and works for me.

Any one have any question feel free to ask. I am no expert but can find an answer. Any one need additional explanatory pictures I'll be glad to take them.

Just another technique that one can use. It is all about individual preferances.

Now go catch some fish :mrgreen:

Mark
2325 Wa Pacificskiff
Mark
2325 WA PACIFICSKIFF
mojomizer
Contributor/Donator '08
Posts: 1205
Joined: Sat Jan 12, 2008 4:38 pm
16
Location: Orange County

Re: Sato crimping system. Part 1

#4

Post by mojomizer »

Welder PM recieved and is being studied. :thumbsup:

Catch me a Lake Texoma Striper or at least a Catfish.

Mark
2325 Wa Pacificskiff
Mark
2325 WA PACIFICSKIFF
AlloyToy
Donator '08 '09 '10
Posts: 2433
Joined: Wed Jan 09, 2008 8:55 am
16
Location: MA & RI

Re: Sato crimping system. Part 1

#5

Post by AlloyToy »

Great thread Mojo...have seen this at CharkBait but no where as detailed aas what you have here :thumbsup:
User avatar
JETTYWOLF
Contributor/donator/Location Nazi
Posts: 6074
Joined: Sun Jan 06, 2008 9:11 pm
16
Location: Tree-hugger, USA...they call it FLA.

Re: Sato crimping system. Part 1

#6

Post by JETTYWOLF »

Where the hells the F-I-S-H?
User avatar
JETTYWOLF
Contributor/donator/Location Nazi
Posts: 6074
Joined: Sun Jan 06, 2008 9:11 pm
16
Location: Tree-hugger, USA...they call it FLA.

Re: Sato crimping system. Part 1

#7

Post by JETTYWOLF »

waiting on "Part Deux", Mojo.....

whooper on deck and Sakamoto rig thru the guides :thumbsup: Take SL Dave with ya.
S L Dave
Donator #1 '08, '09, '10, '11, '12, '13
Posts: 1077
Joined: Thu Mar 06, 2008 10:43 pm
16
Location: LA/Western NY

Re: Sato crimping system. Part 1

#8

Post by S L Dave »

AlloyToy wrote:Great thread Mojo...have seen this at CharkBait but no where as detailed as what you have here :thumbsup:

Nice Mark...let's see if it works one of these weekends!

Re: Charkbait
My wife is fundraising for our boy's school at local businesses. She said, "Did you know that there is a tackle store down the street called Charkbait?"
I guess she never looks at our credit card bills!!! :highfive:
"Once in a while you get shown the light in the strangest of places if you look at it right."
Image
User avatar
JETTYWOLF
Contributor/donator/Location Nazi
Posts: 6074
Joined: Sun Jan 06, 2008 9:11 pm
16
Location: Tree-hugger, USA...they call it FLA.

Re: Sato crimping system. Part 1

#9

Post by JETTYWOLF »

SL DAVE....

That's halarious, brother!!!!!!
:thumbsup:
Capt. G
Posts: 183
Joined: Tue Mar 25, 2008 7:37 am
16

Re: Sato crimping system. Part 1

#10

Post by Capt. G »

A couple tricks...

To keep the mono from coming out of the needle simply bend it a little near the tag end and then insert...it will not come out while threading.

Nothing wrong with inserting 5' but you would be surprised how little you actually need to insert and yet achieve a 100% no slip connection. On my trolling/stand up rigs I usually go with 2' insert and when building casting leaders (for my tuna spin rods) as little a 8"-12" will give you a perfect connection. The smaller diameter the braid, the less you need to insert. I use 80lb JB hollow and 60-100 fluro for leader construction and have yet to have one fail.

I dont use the Sato system but do use a Beiter serving tool to create the finished serve.
Capt. G
Post Reply Previous topicNext topic