Using Hull Stiffener Extrusion

Mods and custom builds
kmorin
Donator 08, 09, 10, 11, 12, 13, 14, 15, 16, 17, 18, 19, 20, 21, 22, 23, 24
Posts: 1743
Joined: Mon Aug 18, 2008 1:37 am
15
Location: Kenai, Alaska

Using Hull Stiffener Extrusion

#1

Post by kmorin »

One of the nicest extrusions ever drawn and extruded is the "Hull Stiffener" which is (at least) available from Alaska Copper and Brass, but I'm not sure if this extrusion is their proprietary product? Maybe so? in that case its the only place to buy this 2" x 3" wide rounder cornered 'channel'. Its used on the outside (may be inside too?) of the hull at the topsides to provide some longitudinal support for the topsides, and it also knocks down water if there's any that far aft as this extrusion is rarely run forward around the bow.

A typical planing skiff has about 1/3 of the LOA in the bow's taper or curve of the topsides, and about 2/3's LOA aft that, some boats' sides are dead straight and flat, others are more curved in the after 2/3's LOA but regardless of the topsides; this extrusion will help keep the sides clean and fair. When welded to the topsides it forms a hollow box beam, one or two of these will really make a welded boat's sides stiff!

But... it gets used in a homely manner too many times. This post is a rant about not tapering the hull stiffener! I show what the difference in looks could be, and you've seen lots of builders that only put some chopped end block on the hull stiffener and let it go. So if you're having a boat built, building or remodeling your own, here's a design element to consider- maybe your builder will agree that hull stiffener could look better than it would if left "whole''?

Image

Above is a small block of the extrusion to make sure I'm being clear on what this post is about? the left most extrusion is the hole shape wrapped around the topsides without any taper.
The middle example is tapered on the two legs and the right hand is shown with long curved V taken out of the back so the taper can happen in width as well as depth.

Image

Just a view from above the three pieces so the taper is clear, and the perspective allows all pieces to be seen in proportion a little better.

The work to tape is simple, start to finish 20 minutes with a batten some vice grips to layout the curves and then skill saw or jig saw, Vixen file the edge and if the extrusion is continuous welded? then a little bevel on the edge of the tapered legs will allow a nice small weld to go into the V formed by beveling the leg edges to the hull's topsides.

The same goes for the taper of the width. This V is laid out using a flat bar batten and can be skill or jig saw cut, then flap sanded inside to bevel, drill a hole at the after end of the cut to stop crack out... pull the sides closed holding the surface flat using BowLegged vice grips and little pieces of flat bar, tack and the weld out, I'd sand that surface flat and even take the 3M pads to buff it out. Then the taper of the depth combined wih the taper of the width, would all the Hull Stiffener to be wrapped farther forward and would be more flexible to put on.

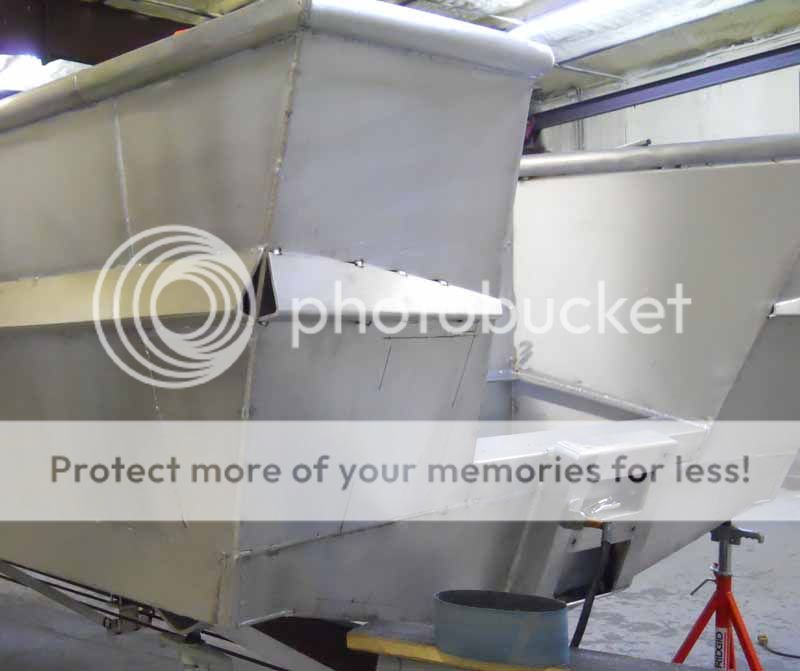
Looking recently at a nice looking skiff, not sure the link here? and noticed that the hull stiffeners stand out too much at the forward ends, they spoil a fine looking skiff's appearance in my eye, but that doesn't have to be the case... its not much work to taper one or both directions allowing this great looking extrusion to fit more cleanly into your sheer line and topsides of a skiff or larger hull.

Cheers,
Kevin Morin
Kenai, AK
kmorin
downline
Posts: 14
Joined: Thu Feb 07, 2013 12:34 pm
11

Re: Using Hull Stiffener Extrusion

#2

Post by downline »

Looks like something that would work on my skiff Kevin. Unfortunately I don't know of any place on the east coast that carry it. D
kmorin
Donator 08, 09, 10, 11, 12, 13, 14, 15, 16, 17, 18, 19, 20, 21, 22, 23, 24
Posts: 1743
Joined: Mon Aug 18, 2008 1:37 am
15
Location: Kenai, Alaska

Re: Using Hull Stiffener Extrusion

#3

Post by kmorin »

Dan, as popular as it is on this side of the country seems odd that a vendor Local Metal Supplier didn't carry it over on the Atlantic side but I'm sure that's true of lots of products as well? This method could be done on a press braked piece of sheer flat plate- if a vendor there gave a low enough price for the sheer and brake, and had a 20 bed on the equipment. Lots of times a pressed shape requires more depth of leg than needed for the application in the boat... just to span the dies' openings.

This works (tapering) well with the two legs of angles, combined with a router rounded outer edge to get a small radius on the normally sharper outer corner or most angle extrusions.

Image
Here is the after port corner of the rub rail in angle the routed off bull nose is faintly visible, the uneven legs allow the (4" x 3" and trimmed to 2") to act as a hull stiffener and as an active spray rail. I this case the taper is a stern wrap around, that reduces the locker's transom panel size and adds a little design feature to the stern. Later this side of the transom was kind of blocked by a bracket for the outboard, kicker engine's mount.

The corner filled in looks a little better than the picture above.

Image

here's a piece of the angle and some pipe strips added to the corner, filled and sanded to continue the rub rail around the stern (starboard here) corner. This is a pertty thick corner fill so it will take impact if that happens?

The idea of tapering the spray rail, wrapping it around the after corners and generally using a little more labor to make the piece more integral to the overall design is worth the effort in my view.

Image
(above) the rail's longitudinal line wraps at the stern, this corner while not identical to the half pipe selected by the owner for the sheer, still echo's the corners of the sheer rail.

Image
(above) the final detail of this rub rail stern taper and wrap is inside the engine's splash tray coaming and below the stern locker P trap vent cowling.

Image
(above) tapering the 4" x 3" (trimmed 3" leg to 2" then tapered) angle at the bow allows the rail to stiffen the topside all the way to the bow stem, to act as an efficient spray rail and to add to the lines of the hull (this approximates the line of a hull diagonal) and this can be done by tapering most extrusions that are too stiff to cold form onto the topsides in the forward 1/3 of the hull.

I'm not saying the looks of external longitudinals are attractive to every single boat owner, just mentioning and stressing that if they are used by your builder(?) there could be a small amount of added effort to those external extrusions that (I think) enhance their looks, and that is worth the effort- IMO.

Cheers,
Kevin Morin
Kenai, AK
kmorin
Post Reply Previous topicNext topic