Hull striping....

General boating discussion
User avatar
JETTYWOLF
Contributor/donator/Location Nazi
Posts: 6074
Joined: Sun Jan 06, 2008 9:11 pm
16
Location: Tree-hugger, USA...they call it FLA.

Hull striping....

#1

Post by JETTYWOLF »

Any tricks to getting a hull stripe "perfectly" straight ?

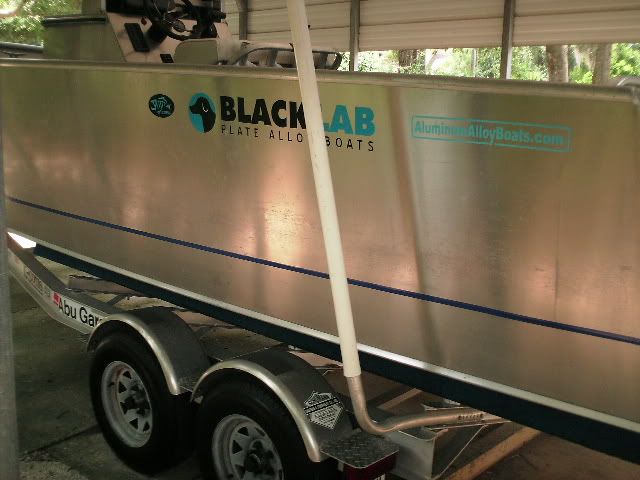
Decal types. No painting.

I've done them before, but was wondering if there's any secrets like popping a chalk line, or using soapy water under stripe etc.

I really liked the stripes on the Pacifics. Then they stopped doing that.
I guess I could have made the request......but wtf do I know?

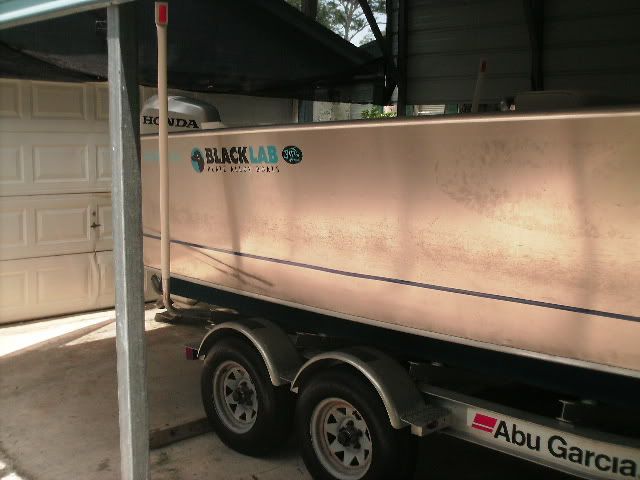
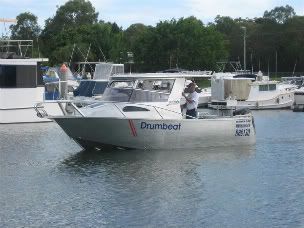
I'm thinking of jazzin' (or is that spazzin') the side of my hull up with a blue/black stripe, in BlackLab colors. It should be EZ since the stripes follow the decks weld line, visible for the exterior.
Image
User avatar
JETTYWOLF
Contributor/donator/Location Nazi
Posts: 6074
Joined: Sun Jan 06, 2008 9:11 pm
16
Location: Tree-hugger, USA...they call it FLA.

#2

Post by JETTYWOLF »

NEVER MIND.....

I went and added some striping and it looks good. Pop's helped, it was a 2 man J-O-B. Dark Blue is all I could find. Still doesn't match my big bold BLM I have.

But at least adds a bit of color....even though my favorite color is Silver. Silver Truck, Silver boat. And if I ever get them, some custom Trout rods with some silver aluminum looking highlights on a black Seeker blue lightning rod blank.

Here she is....

had to spruce her up for Monday, Tuesday and Thursday charters.....whoa,
can ya believe that. I get to goooo fishing!!!!!
Image

Image

Image

Image

Glad, Pop's was there to help. We wetted the surface with some soap & water on a sponge, drew out a long length and followed the weld line from the inside deck weld, drew it out tight some more with me guiding Pops as he held it "go up.....go down" and laid it on the soapy water spot and then sqeeged it down.

No real trick other than the soapy water thing I do anyhow with decals on boats, sign or truck letters.
S L Dave
Donator #1 '08, '09, '10, '11, '12, '13
Posts: 1077
Joined: Thu Mar 06, 2008 10:43 pm
16
Location: LA/Western NY

#3

Post by S L Dave »

Now you are styling! Gotta get you some spinners for the trailer now! :lol:

How tall are those guides from where they meet the trailer. I am going to cut some aluminum pipe and a sleeve of PVC. I want it to be tall enough, but not too tall. 4'? 5'?
Thanks Dave
"Once in a while you get shown the light in the strangest of places if you look at it right."
Image
User avatar
JETTYWOLF
Contributor/donator/Location Nazi
Posts: 6074
Joined: Sun Jan 06, 2008 9:11 pm
16
Location: Tree-hugger, USA...they call it FLA.

#4

Post by JETTYWOLF »

SL Dave, I'm getting a pop up patio table umbrella that'll secure to the console too, because I don't want to alienate Bullshipper from going fishing with me, as I have a too hot and too boring, charter boat. :roll:

So I'm working on my image. Maybe, next I'll go with spinner rims and some dingle balls...but really am thinking a tower w/ second station, and a lazzertte with crinkled leatherette upolstry. :roll:

Those came with my kick-azz Rolls Axle trailer. They stand from the ground a good 7-8 feet. They are on multi-bent pipes for strength attached to the trailer, and they have a threaded end, and the PVC screws on.
peterbo3
Contributor
Posts: 486
Joined: Wed Jan 09, 2008 12:59 am
16
Location: Brisbane, Australia

#5

Post by peterbo3 »

Hi Dave,
Looking good. A few bits of vinyl make a huge difference without the drama of paint. :D :D :D
Regards,

Pete in Brisbane
Image
User avatar
JETTYWOLF
Contributor/donator/Location Nazi
Posts: 6074
Joined: Sun Jan 06, 2008 9:11 pm
16
Location: Tree-hugger, USA...they call it FLA.

#6

Post by JETTYWOLF »

Yeah, I know. Just was hanging around the house and been thinking a stripe maybe just the cure for something to do....problem is the job took about 20 minutes and $6.00......now what to do?

Maybe some dingleballs? :wink:
Image
User avatar
Sculpin
Posts: 905
Joined: Tue Apr 22, 2008 10:10 pm
15
Location: Vancouver Island(The Rock), British Columbia

#7

Post by Sculpin »

Looks like good work you guys did there. I used to work at a boat yard when I was a kid and had to mask off hulls for bottom paint etc. what a PITA. Your a braver man than I. I like the blue (one of my favorite colors) and the Black lab logo's as I own black lab dog named Coal.

I noticed a dent in your garage door Dave. Did you have some wobbly pops when backing her in one night? :P .
IN2DEEP
WON Super Star Donator '08, '09, '10, '11
Posts: 638
Joined: Sat Mar 15, 2008 1:07 pm
16
Location: So. Calif.

#8

Post by IN2DEEP »

Jettywolf,
What kind soap solution did you use?
I laid down some stickers on my hull a few days ago, but did it dry :shock:
Tough to get it right in one try. Too easy to get creases and air bubbles.
I thought I had the letters right but the next day many air bubbles appeared, that weren't there the first day... grrrr :evil:

Image

So after the solution dries you get full adhesion?
Lubed up is better than dry any day of the week!!! :D :D :D

Scott
Image
1989 22' Walkaround Cuddy Bayrunner
2001 115 Merc. 4 stroke/1988 9.9 Yamaha 4 stroke kicker
User avatar
JETTYWOLF
Contributor/donator/Location Nazi
Posts: 6074
Joined: Sun Jan 06, 2008 9:11 pm
16
Location: Tree-hugger, USA...they call it FLA.

#9

Post by JETTYWOLF »

Rock, yeah before I put in a back stop I backed the lower unit in the garage door, and the back of the treuck is also all dented in too backing into the coupler.....especially in the dark.

Now I have motion detector lights that come on.

Here's a link to the "how to of do it yourself lettering"...my dad used to be in the sign biz I used to help him out. So we just did what we always do.

I always use a lil soap in a spray bottle (small amount of soap with 10 parts or better water) clean surface and then re-wet then apply letters and move if I have too, then SQUEEGY out excess, (a credit card will work but they make a decal squeegy that works best) and let dry in sun for a day. It was 93 yesterday, so it dried out real fast.

And yes, it will adhere, after all moisture evaporates out, AFTER you squeegy it.....with Paper facing still on to protect decal. after thoroughly squeegyed, then carefully pull paper facing off, on an angle.

All done, no bubbles.
Post Reply Previous topicNext topic