

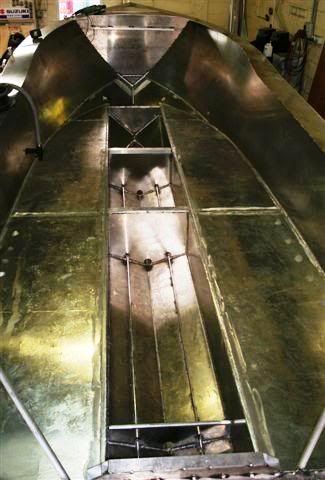
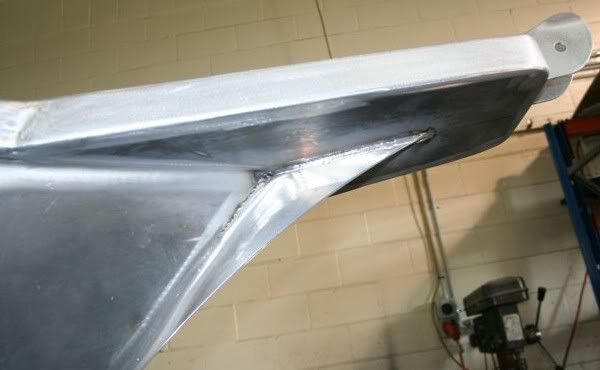
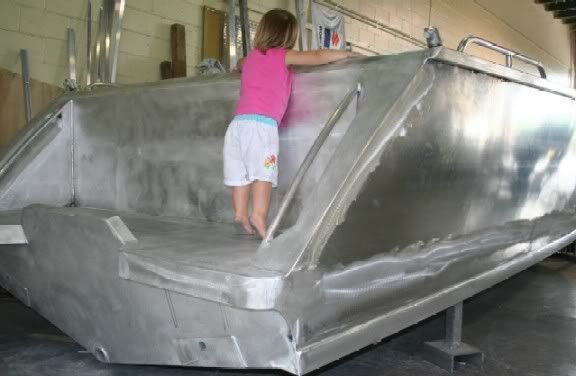
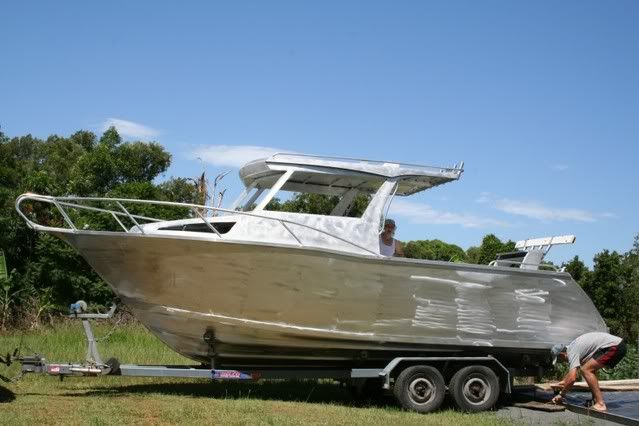
Pic 1 - The pointy end
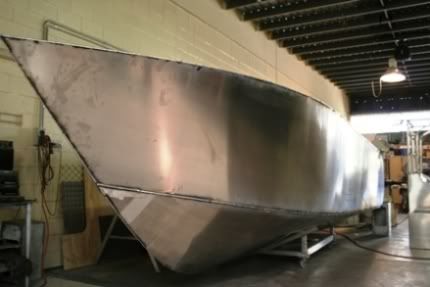
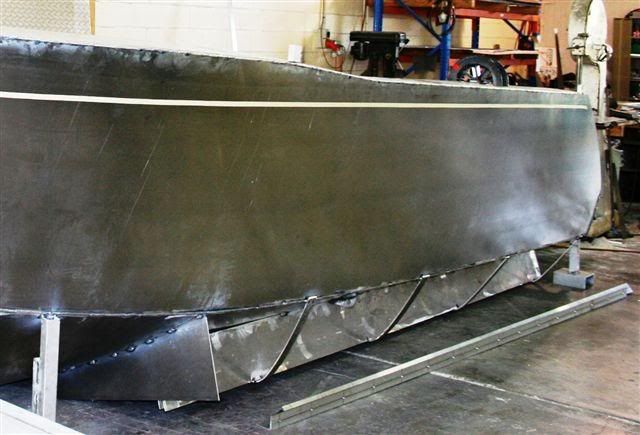
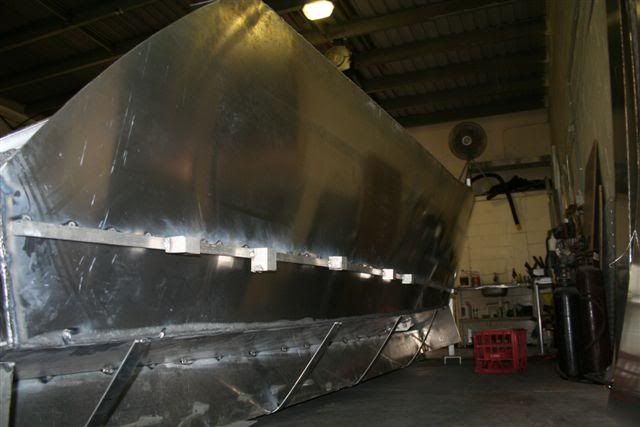
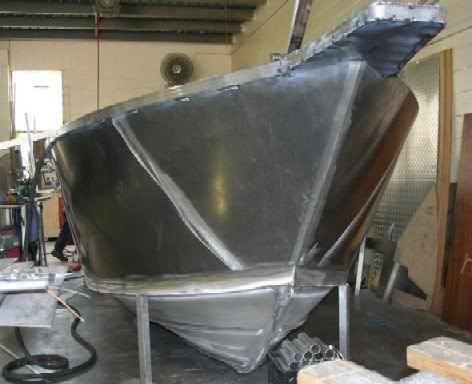
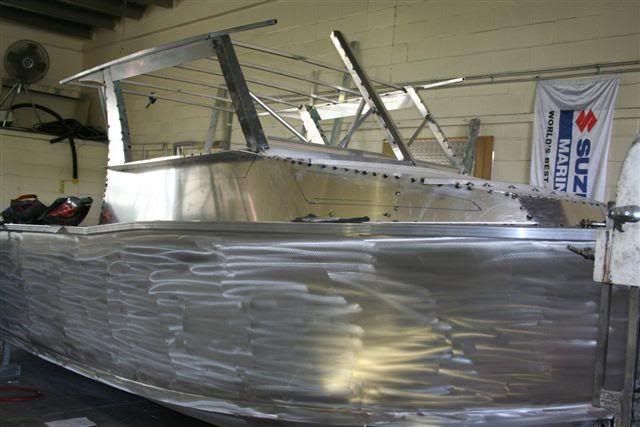
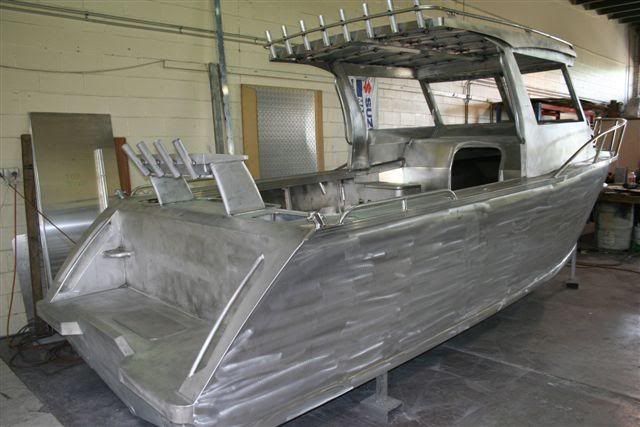
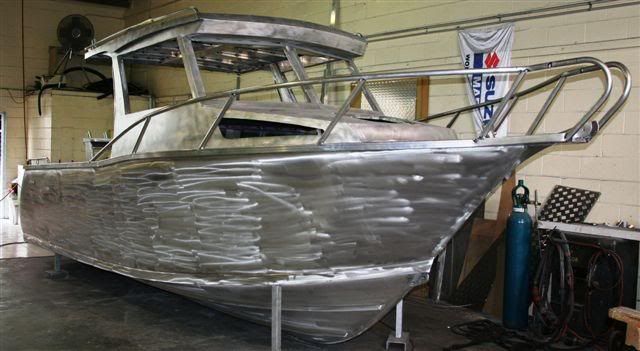
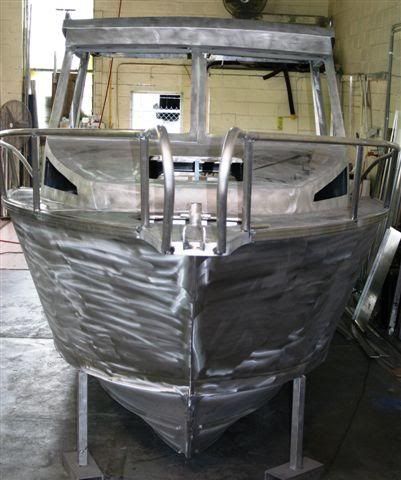
Shell done
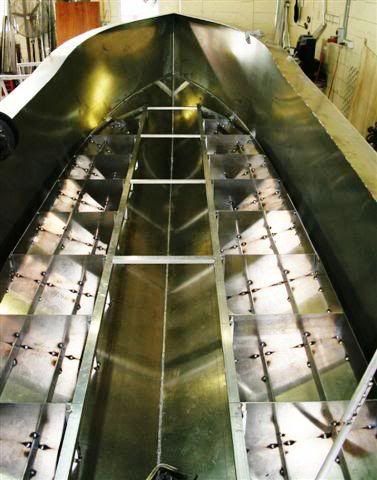
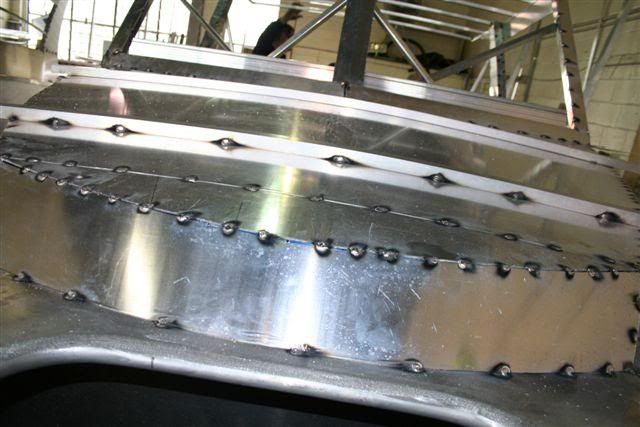
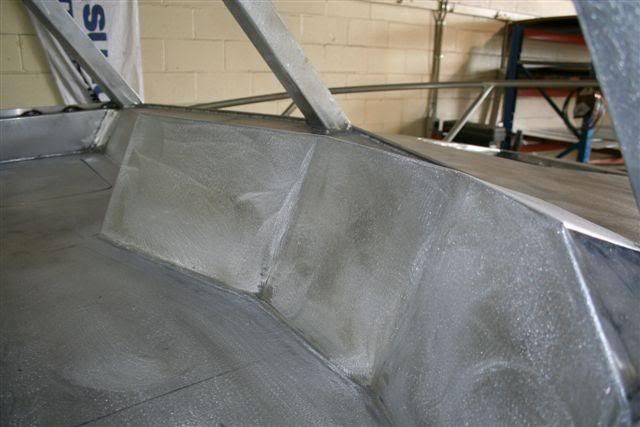
Fully welded bulk heads at every 600 mm
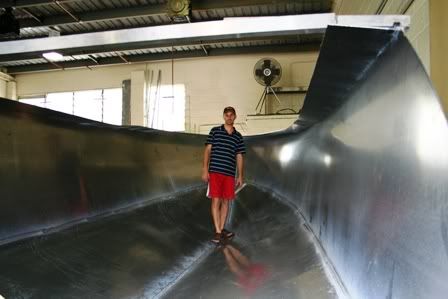
another
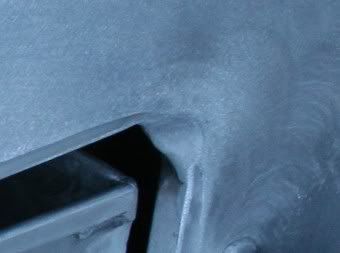
Closer look
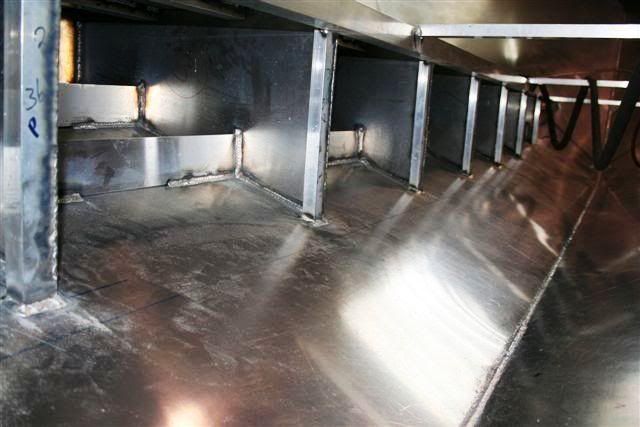
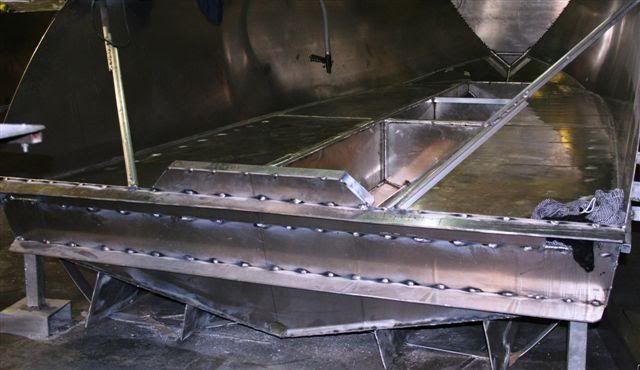
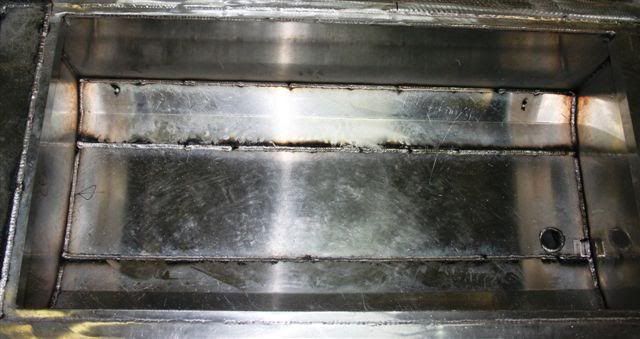
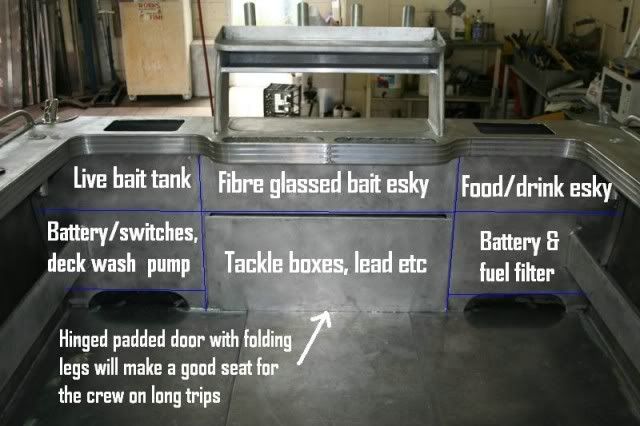
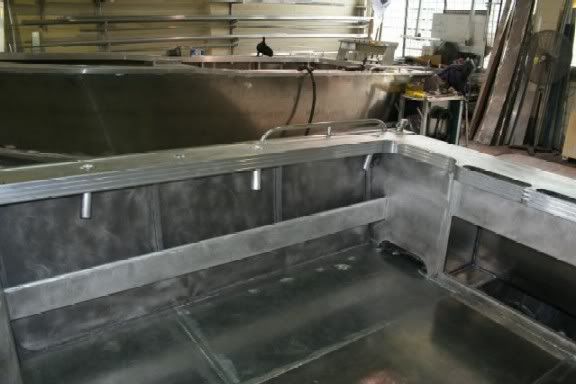
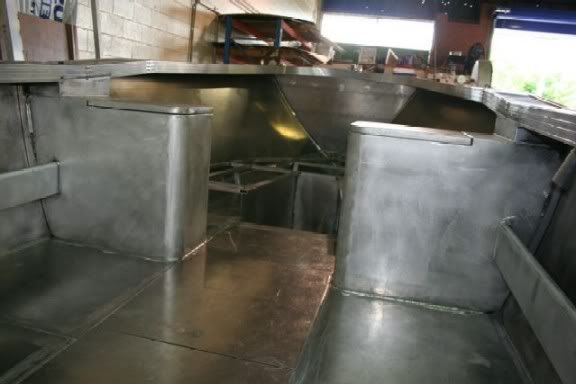
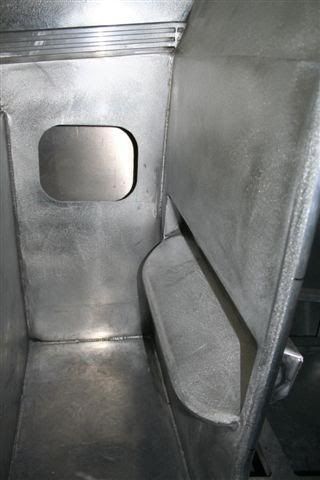
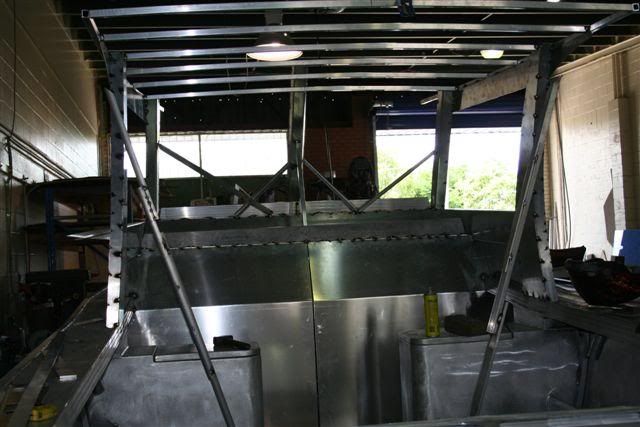
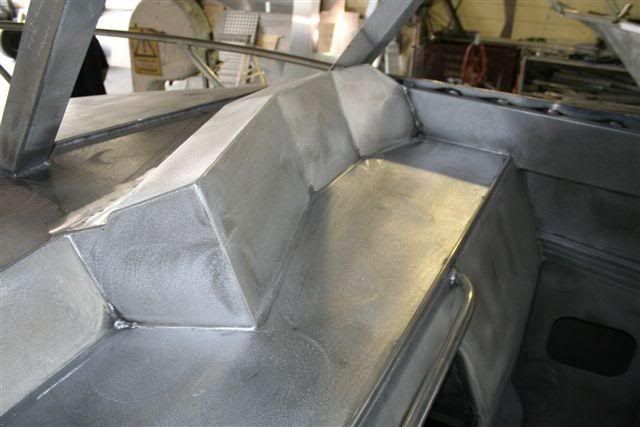
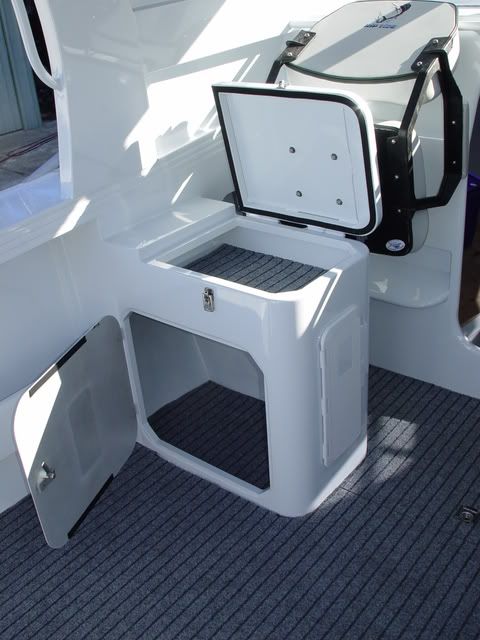
fully sheeted and welded to form floatation/air tanks on either side of the hull which is pressure tested. Soapie water is then run over every weld to ensure no pin holes. The centre rear section will be for the 380ltr fuel tank. The section in front of that will be for an insulated/glassed under floor esky/kill tank which is bloody huge. (does not show the real size in the pics) and section front of that will be the walk in/step down cabin area with storage in front of that
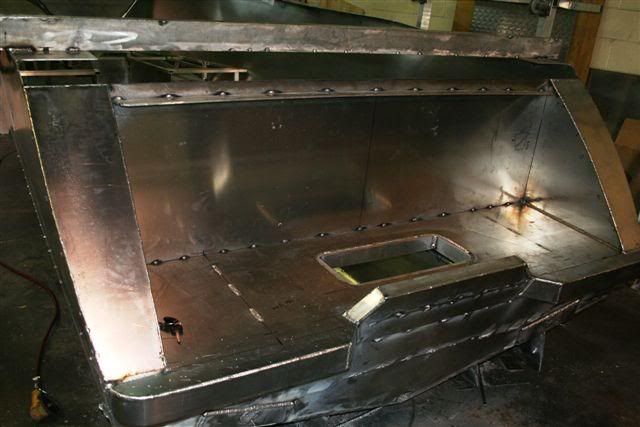
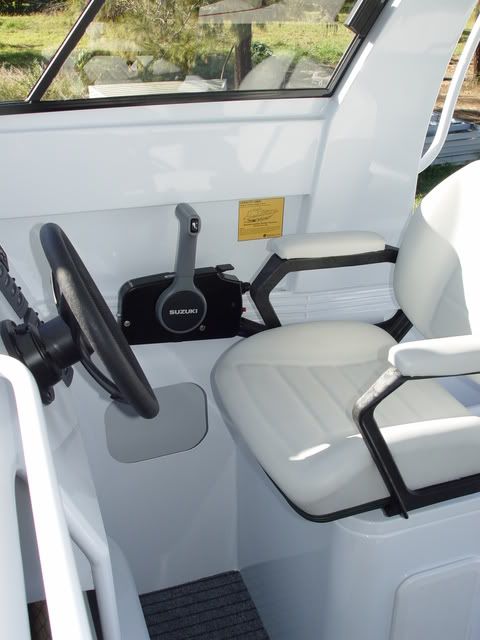
Cabin section before bunk frame work and storage areas go in.

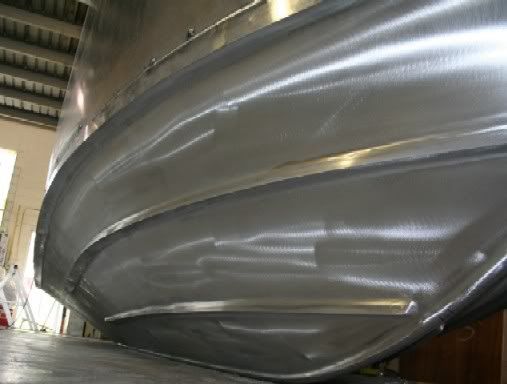
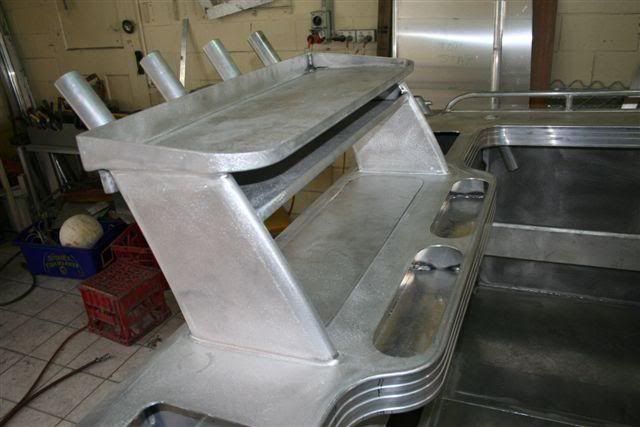
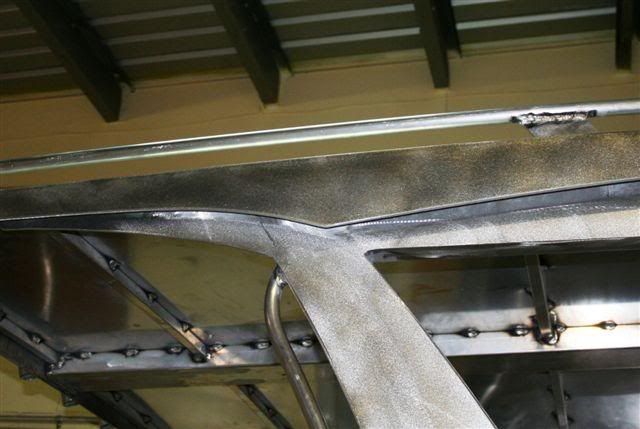
Riptide uses various templates/jigs to form the shape along with a couple big chain tensiors to form the bow angles. The sides are basicly welded on a 45 degree angle and then tensioned up to the gunnels to create a rounding effect on the side sheets.
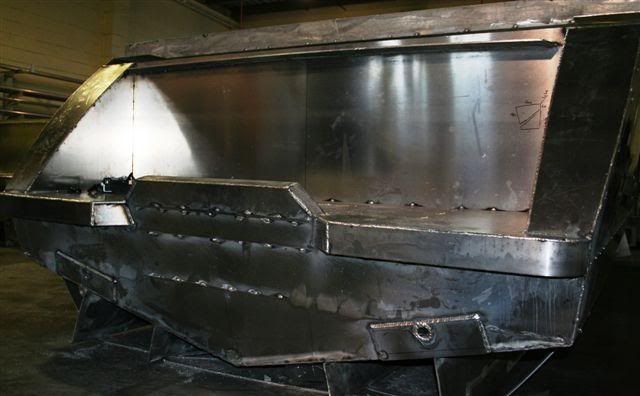
The shell is the easy part I'm told but it's when all the under floor structural work and floor gets welded in that is can cause issue's. The welding sequence required to avoid distortion is an example of years of trial and experience but as you can see in the pics I have attached he welds on various supports under the hull to really make sure their is no problems.
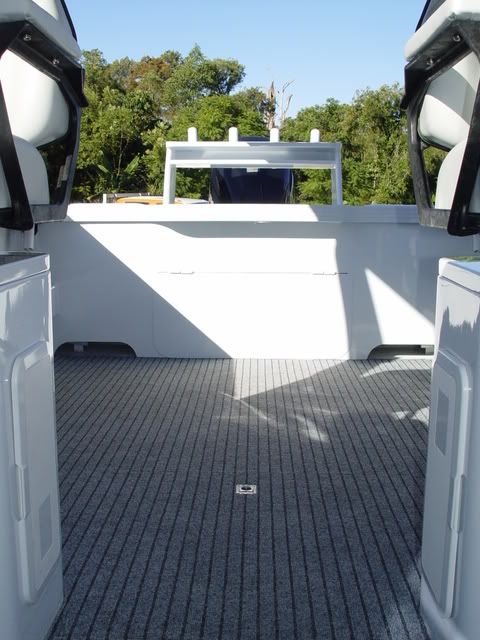
The side sheets get a brace welded on while the floor is welded in to once again avoid any distortion. Dave prides himself on making a very straight boat with next to no distortion and I would have to say there's not to many other buliders who get them as straight as he does. The painters love painting his boats because they need such little work to get them straight.
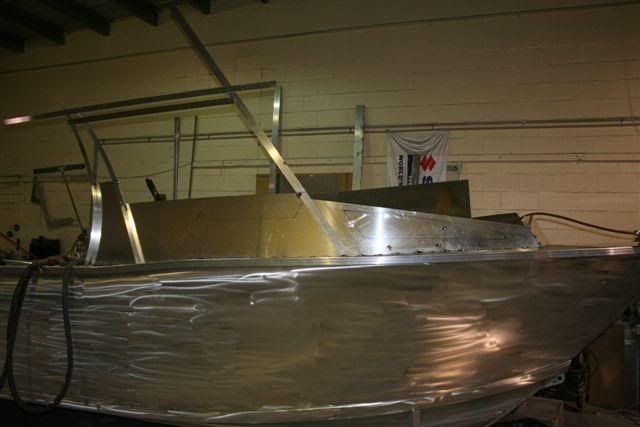
Transom going togethor
another
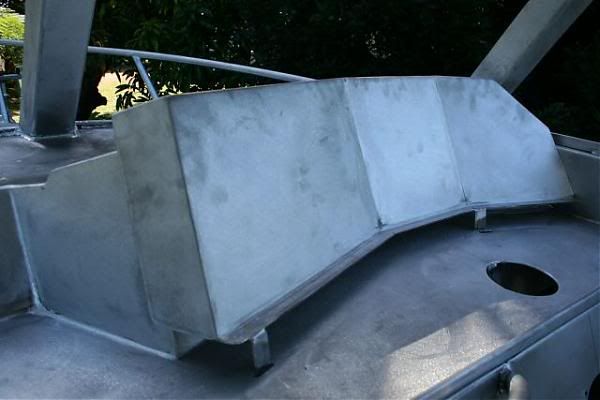
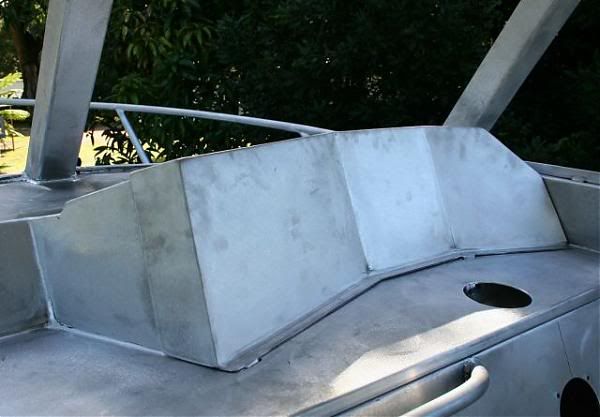
bunk frame work in and raised for plenty of storage underneath them.

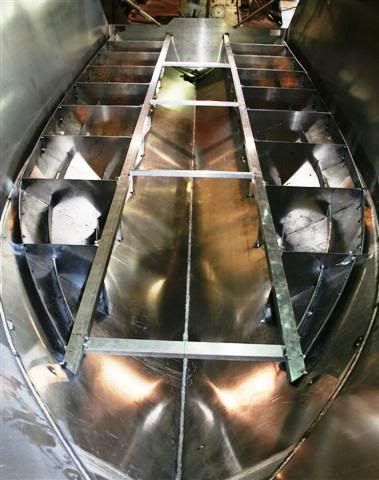
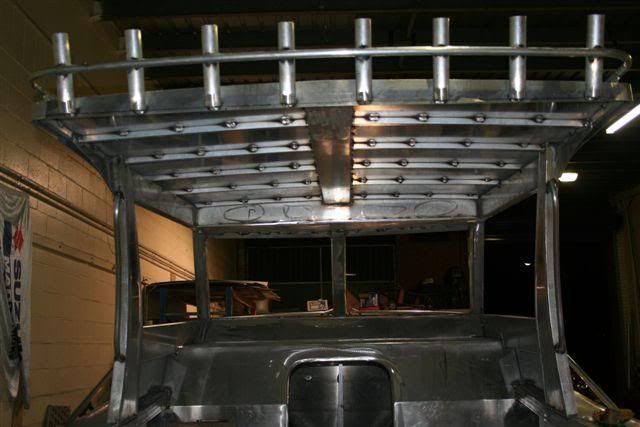
another from a top view
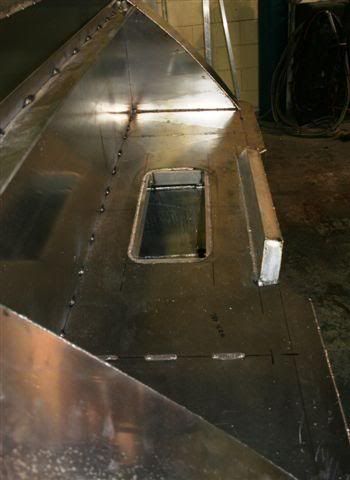
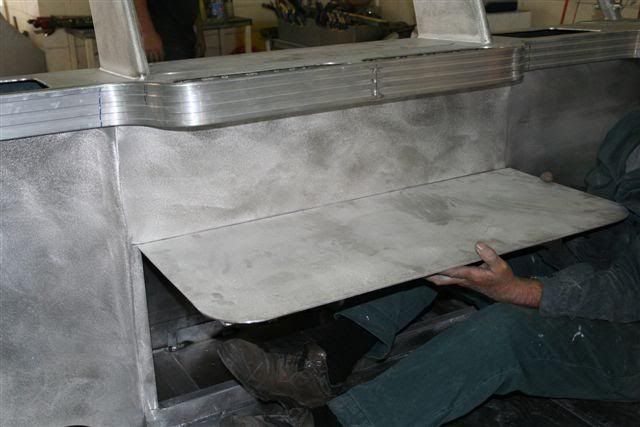
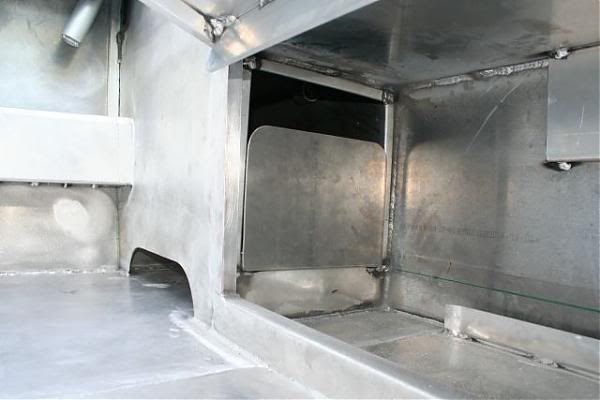
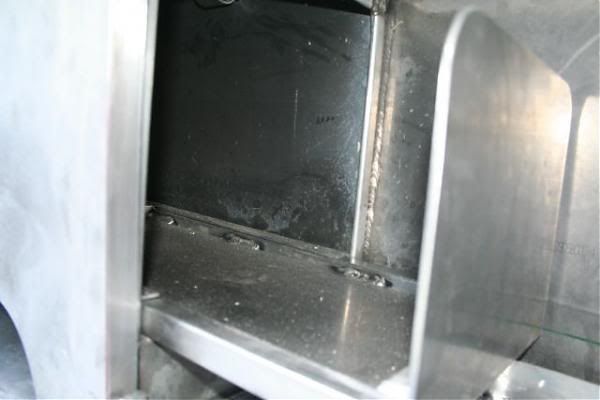
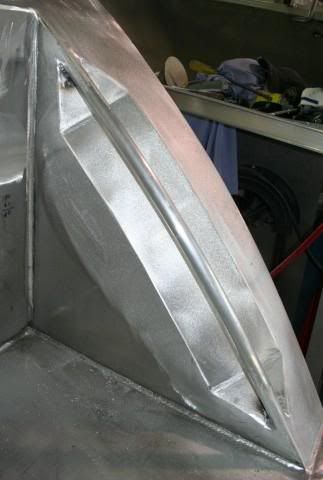
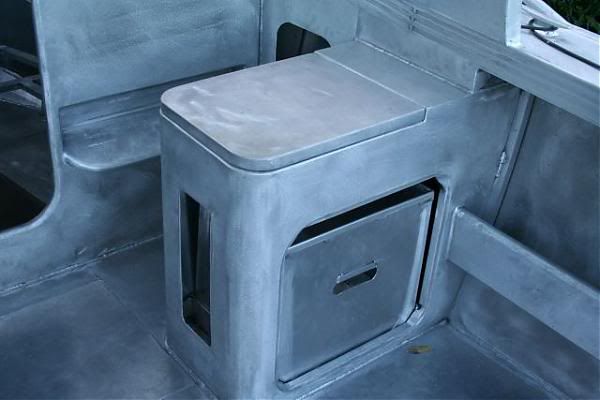
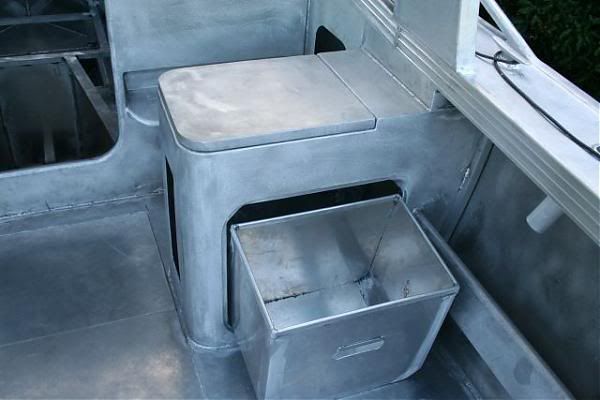
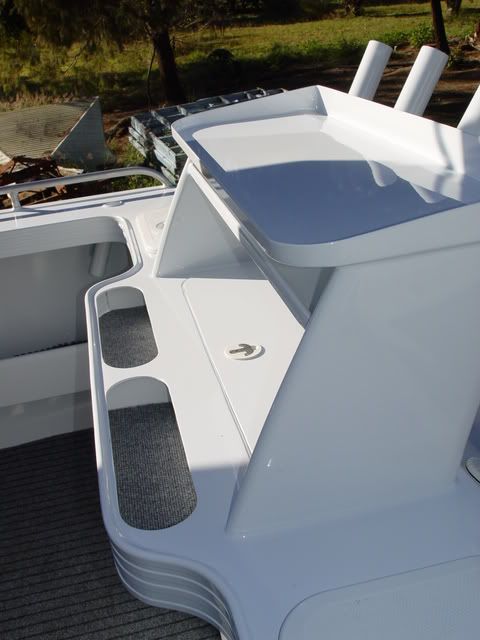
underfloor killtank/icebox all sheeted off and large alloy screw in bung will let the water straight out the bottom of hull with a reverse style cup creating a suction to drain the tank whilst underway.
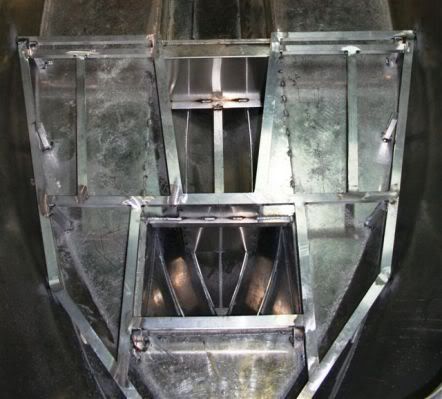
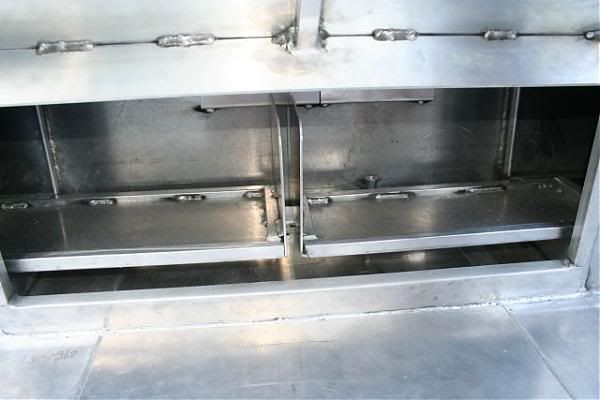
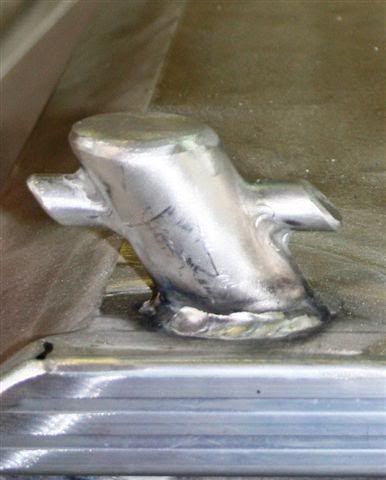
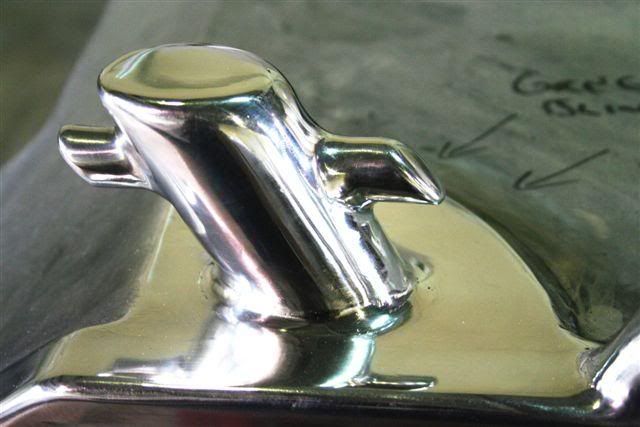
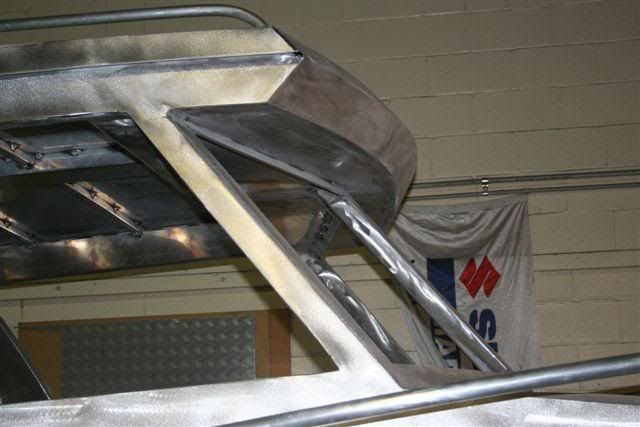
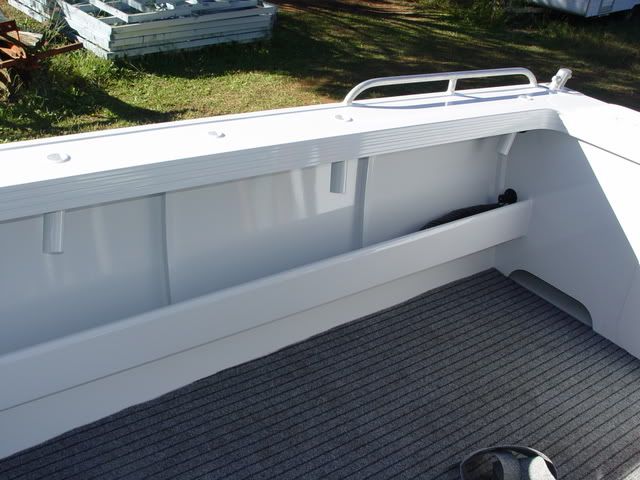
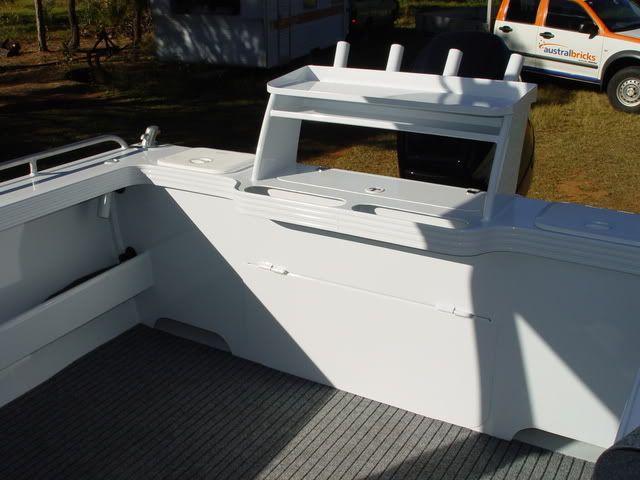
Transom again with trim tab plates welded and he has also welded alloy tubes from these plates through the air tanks and upto the floor just to make sure the air tanks are still fully sealed incase a tab is smashed off and water floods the air tank. The tabs are Volvo QL electronic tabs so all that runs through the tubes is a wiring loom.
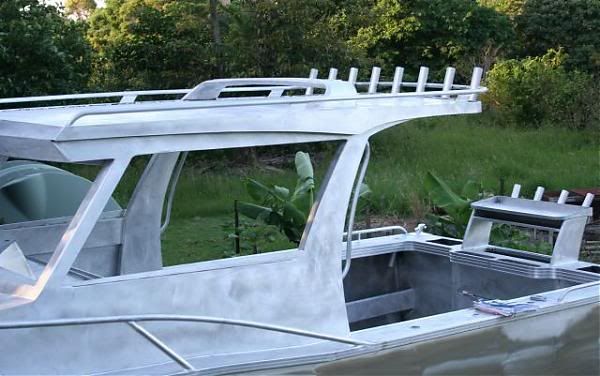
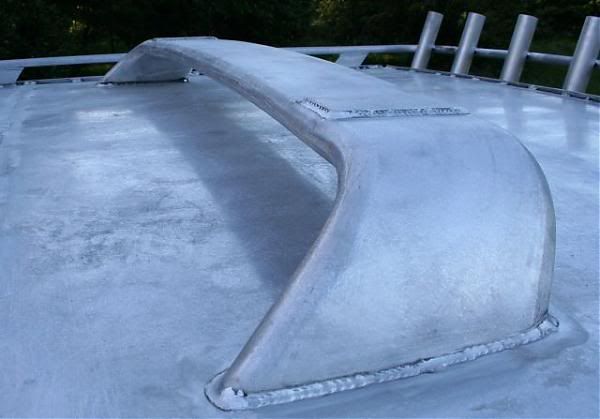
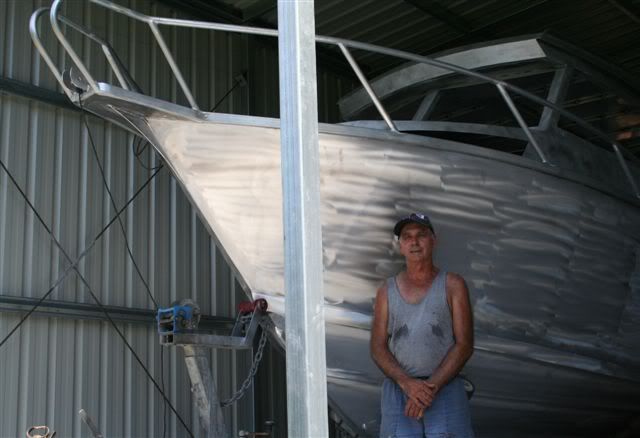


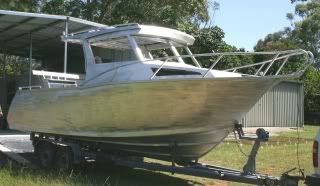
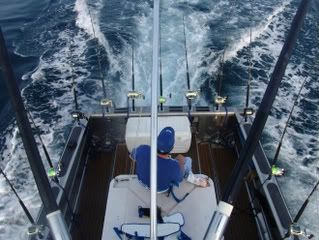 "IRONWOODTUNA" the Alloy Sportfisherman Battleship!

