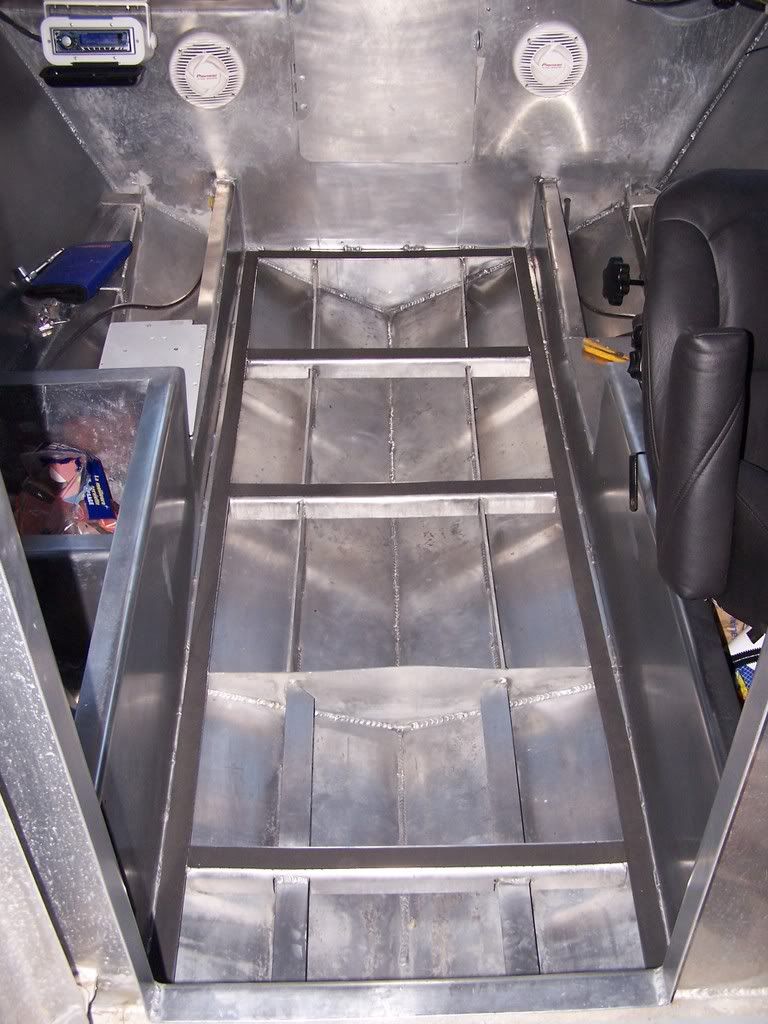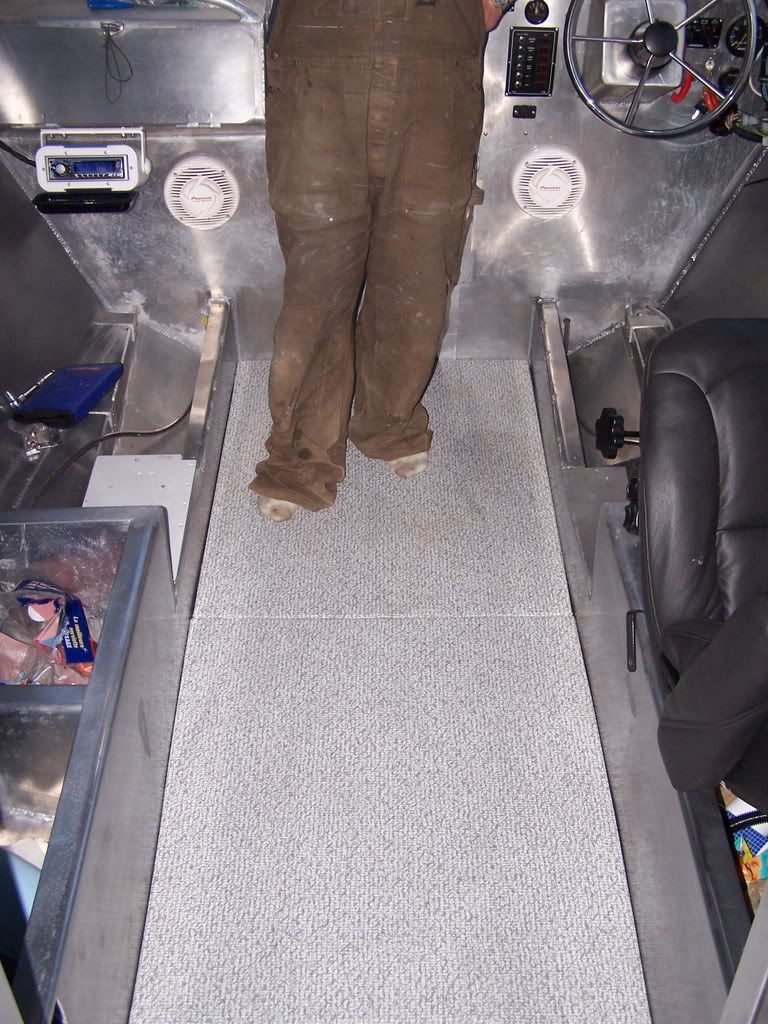
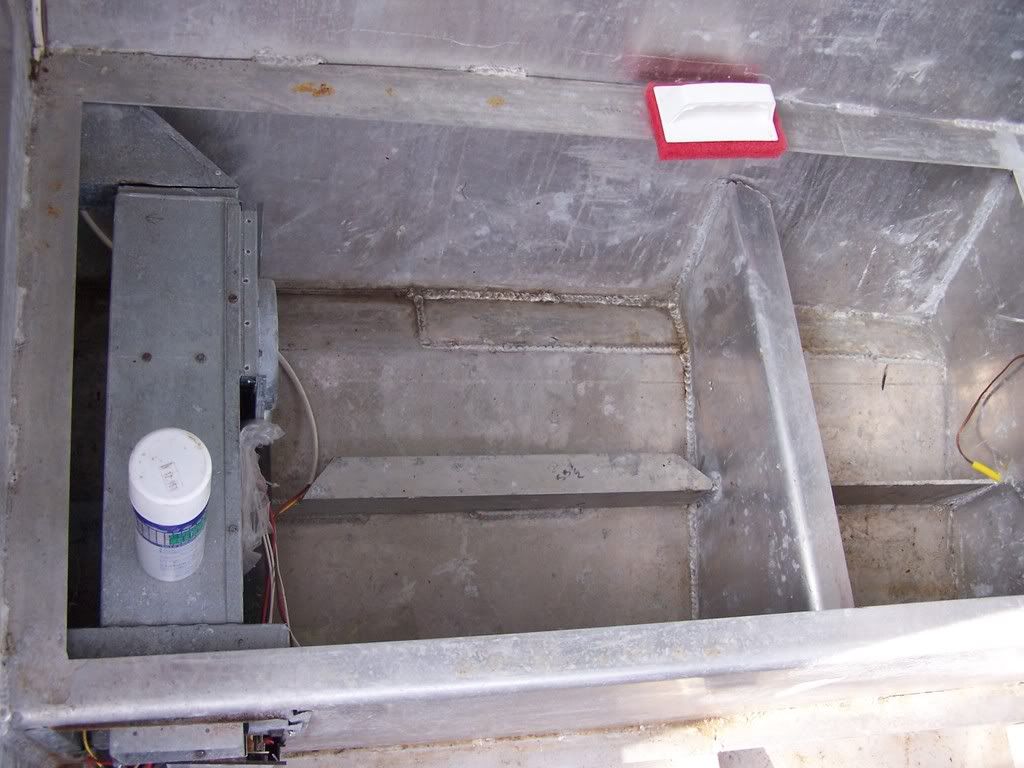
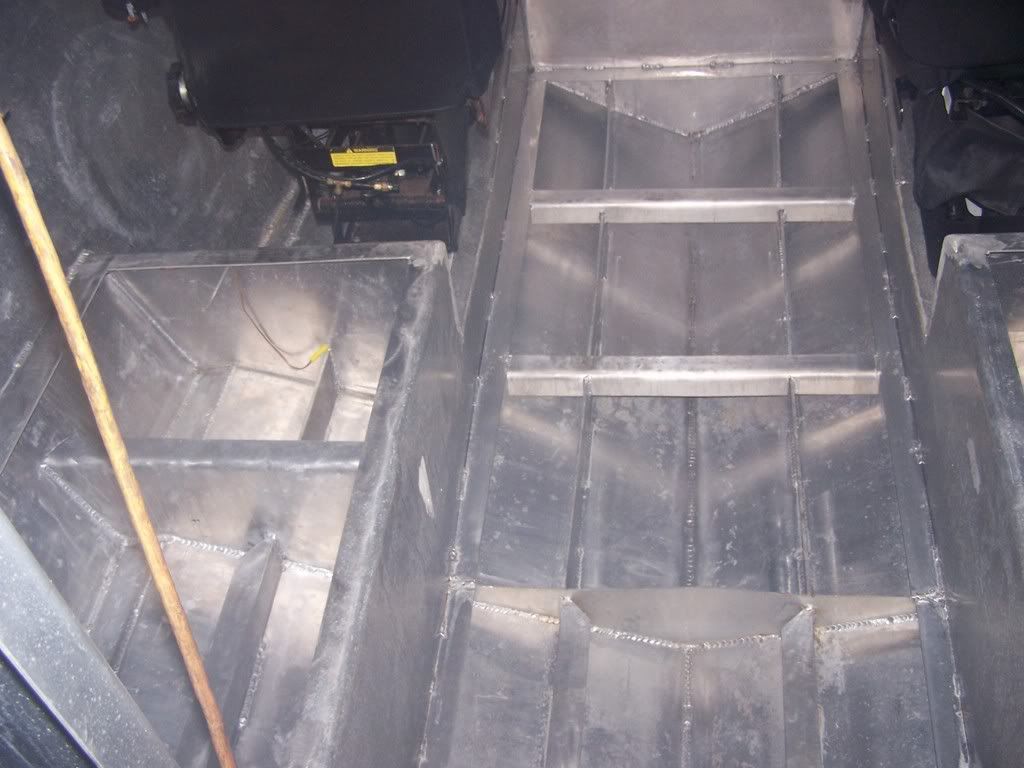
You can see the "RV" style furnace in this shot. I ripped it out as it was all galvanized and corroding although it was never used. I will replace it this fall with a Wabasto diesel unit or what have you.
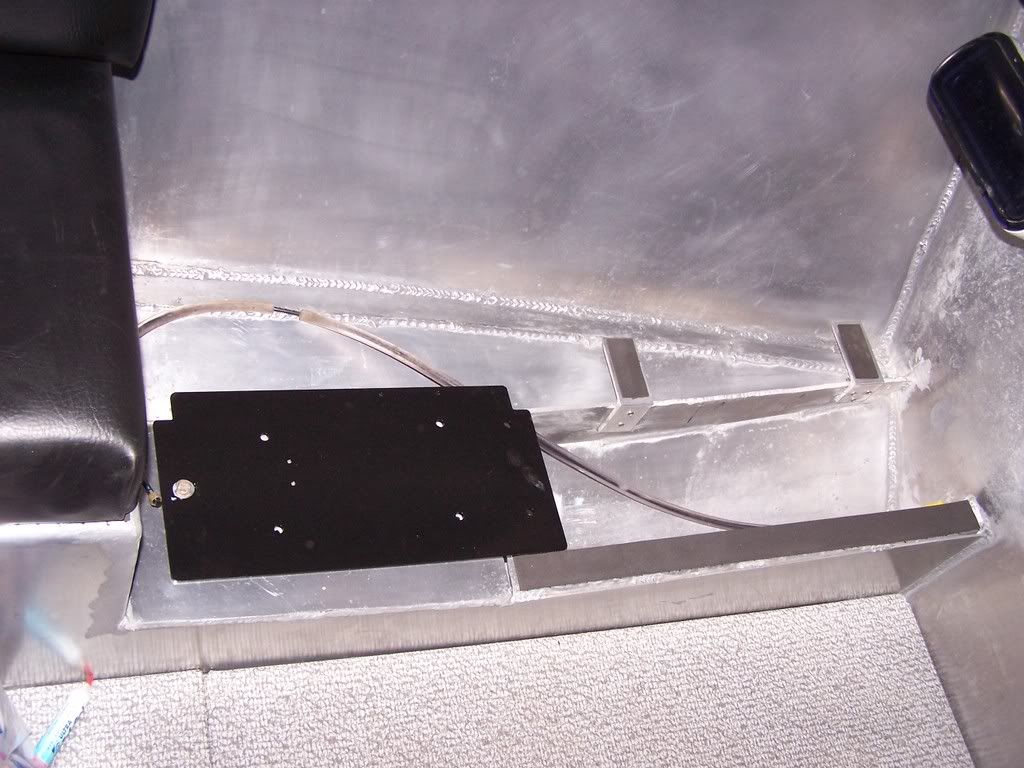
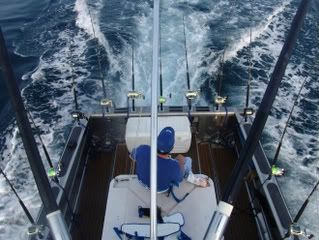
You can see the TR-1 Gladiator Auto Pilot in this one
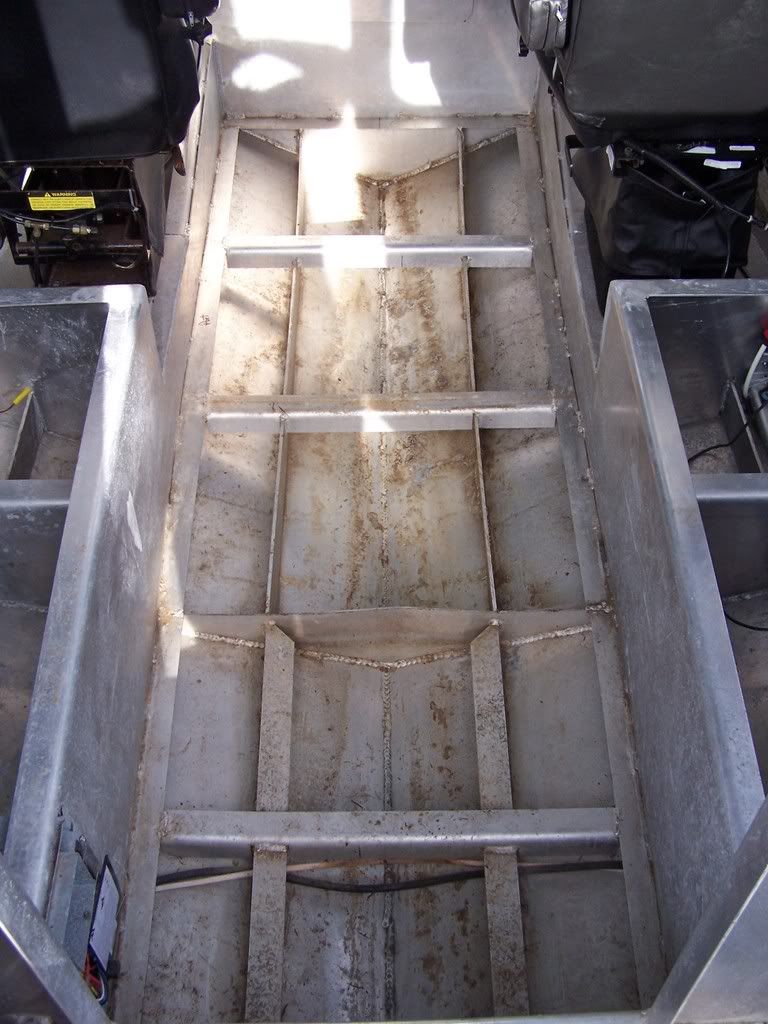
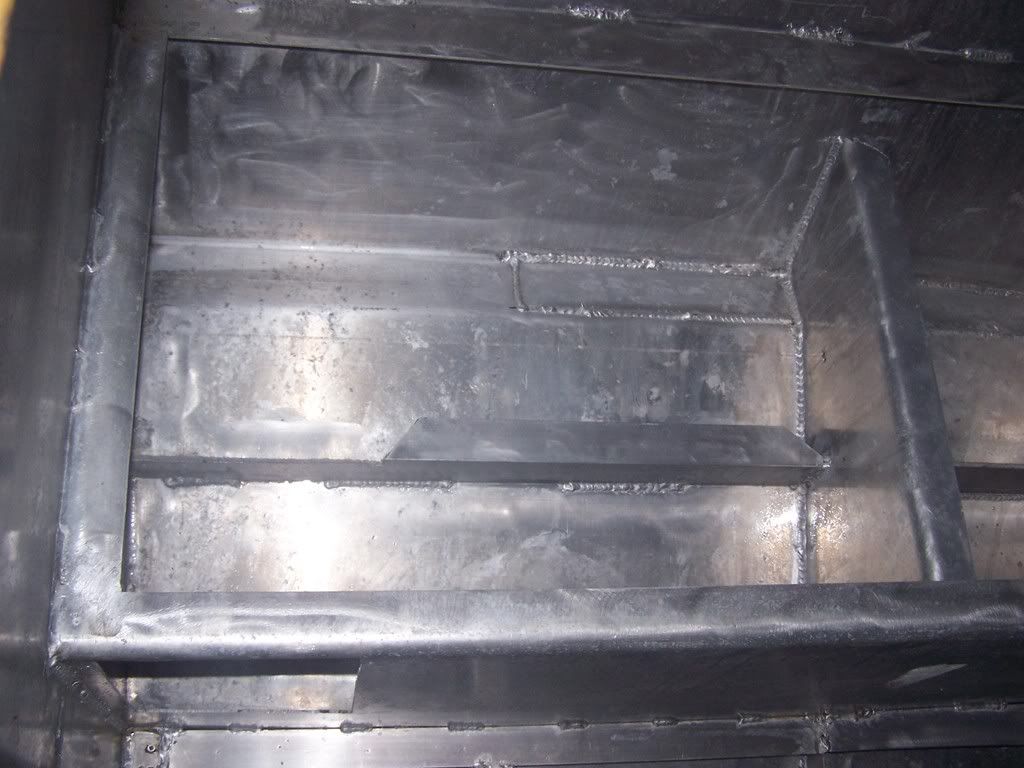
So I got some acid solution for cleaning aluminum hulls and did a couple of washes with scrub brushes and small stainless tooth brush and it's looking better.
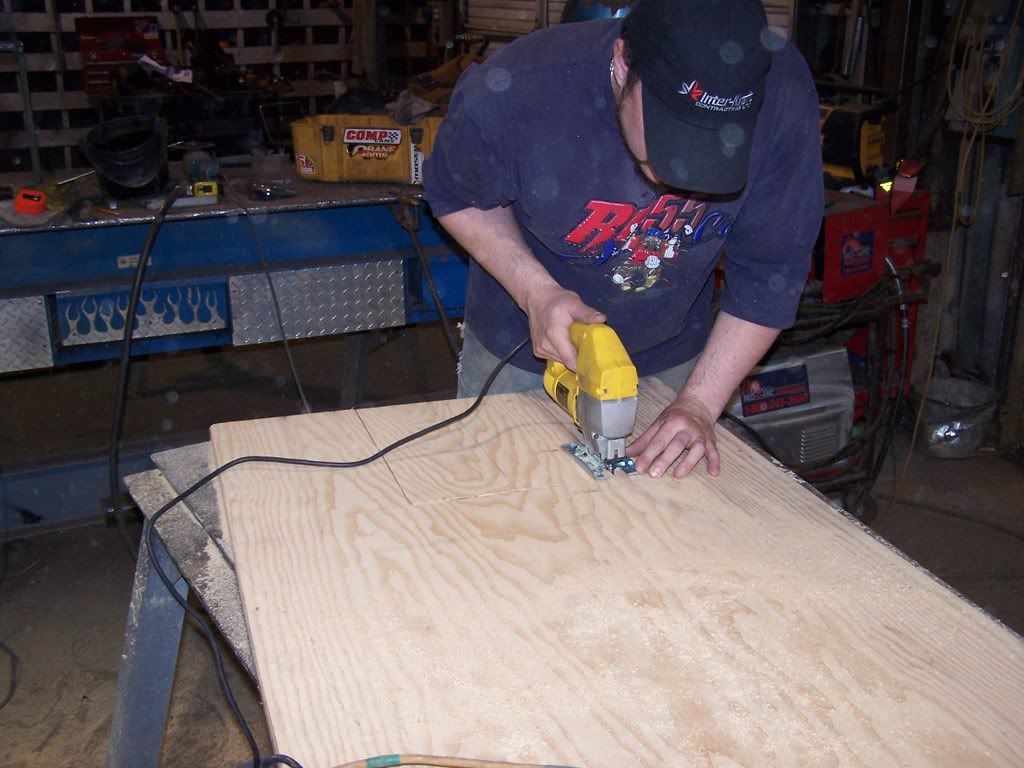
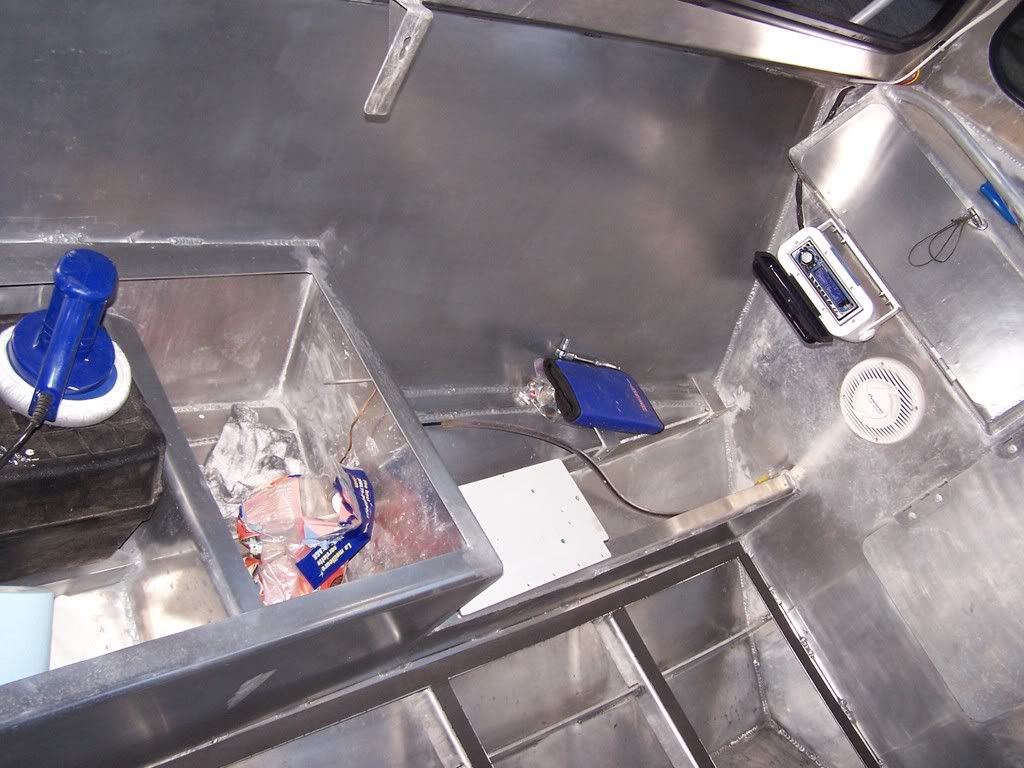
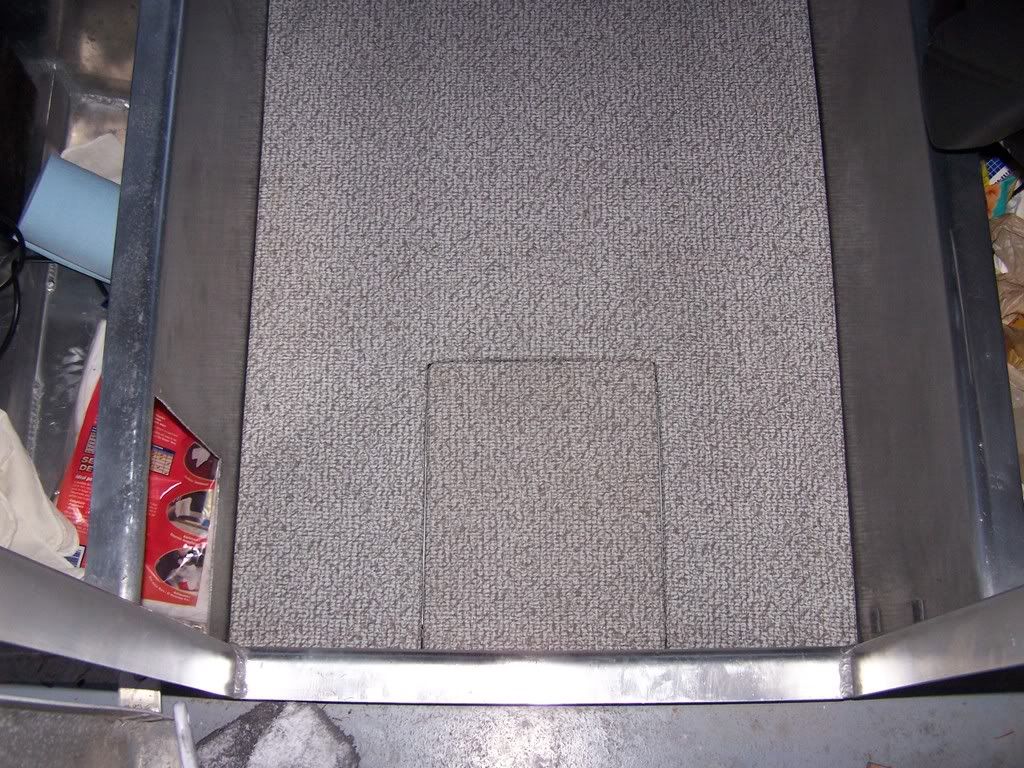
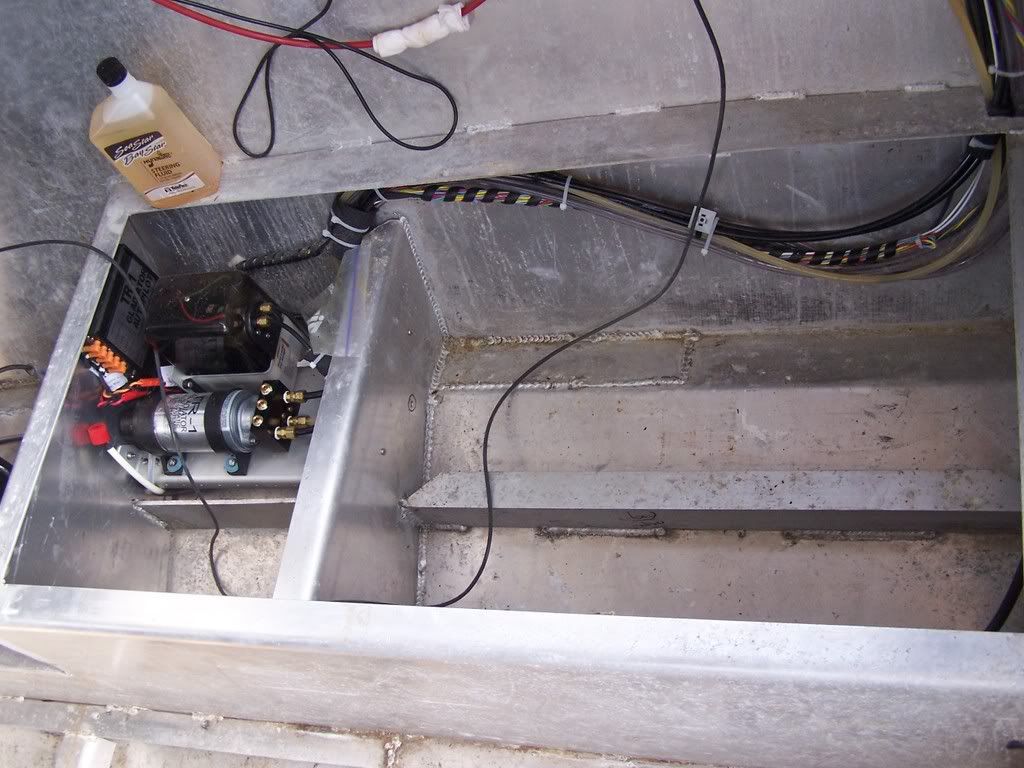
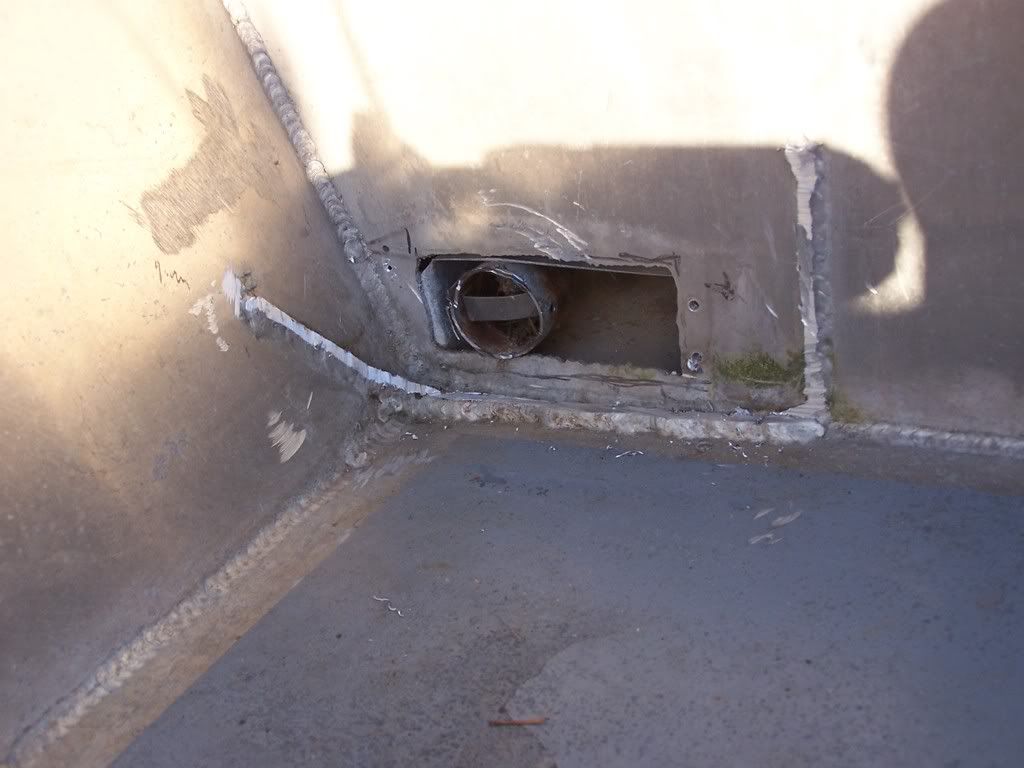
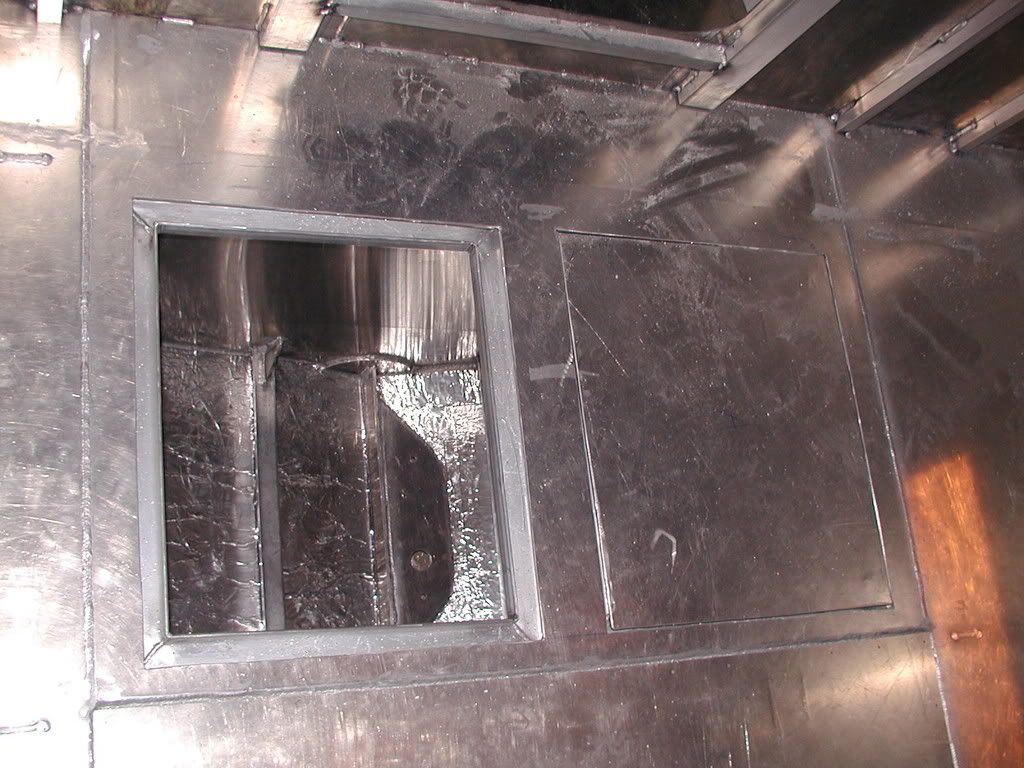
The exhaust for the propane furnace was in the not so great of places. It had an aluminum splash guard for deck water but was totally open on top to rain water :shock: . This next photo shows it already half cut out.
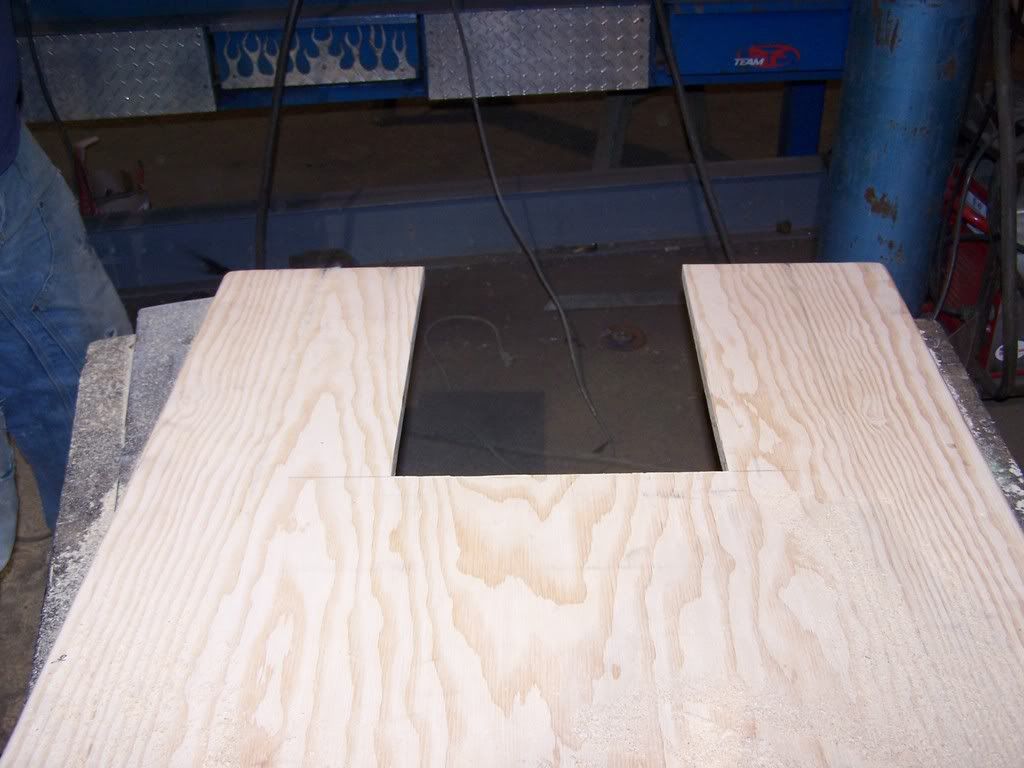
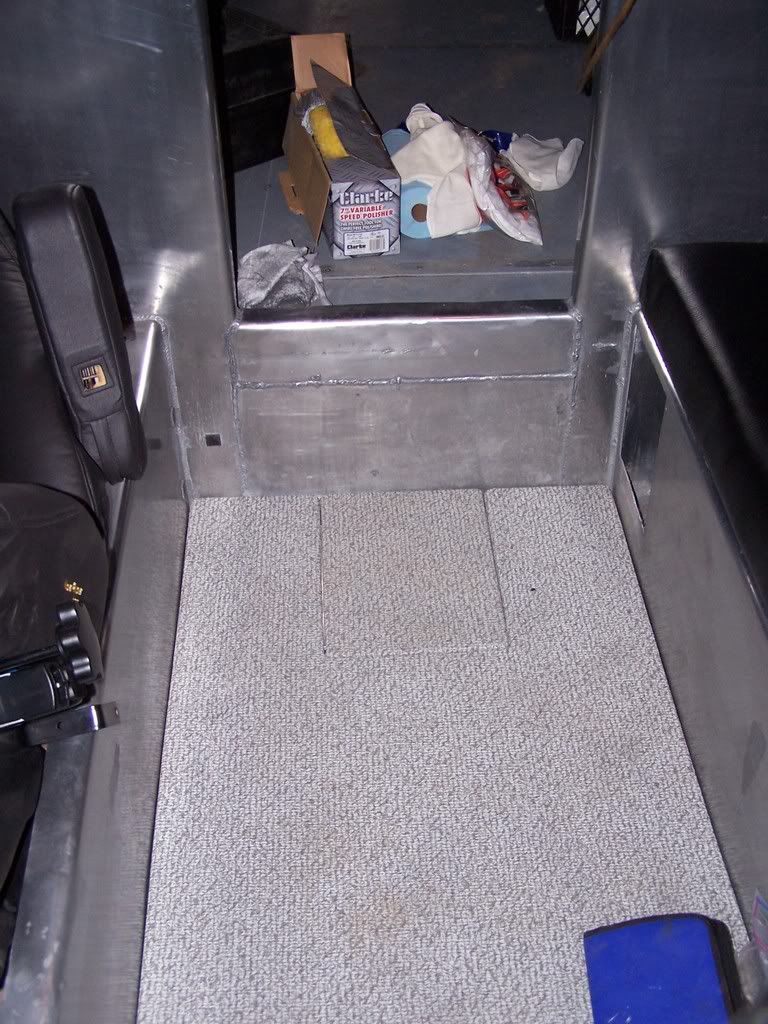
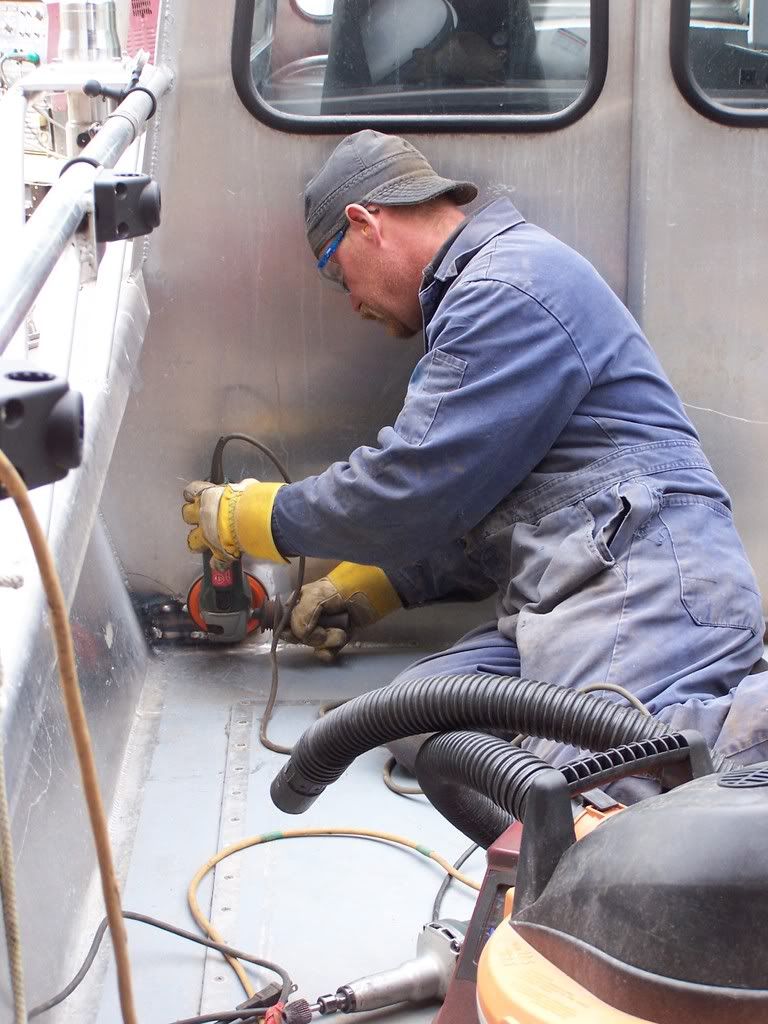
We ground down the remainder of the splash guard and put a patch plate in to seal up the hole.
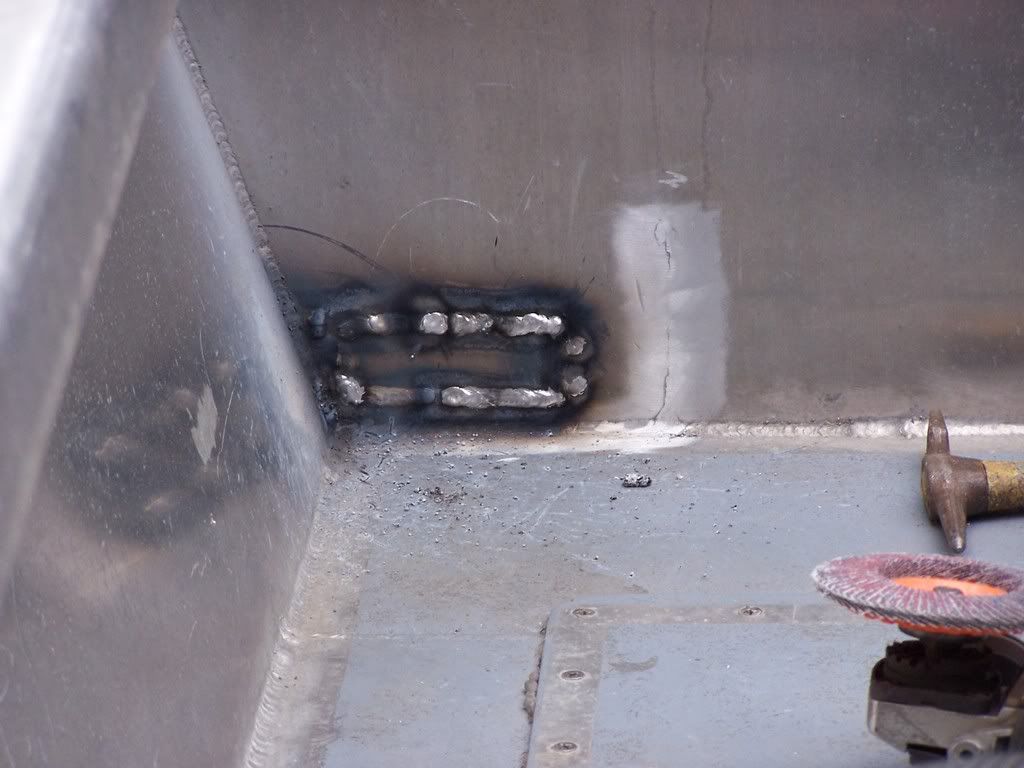
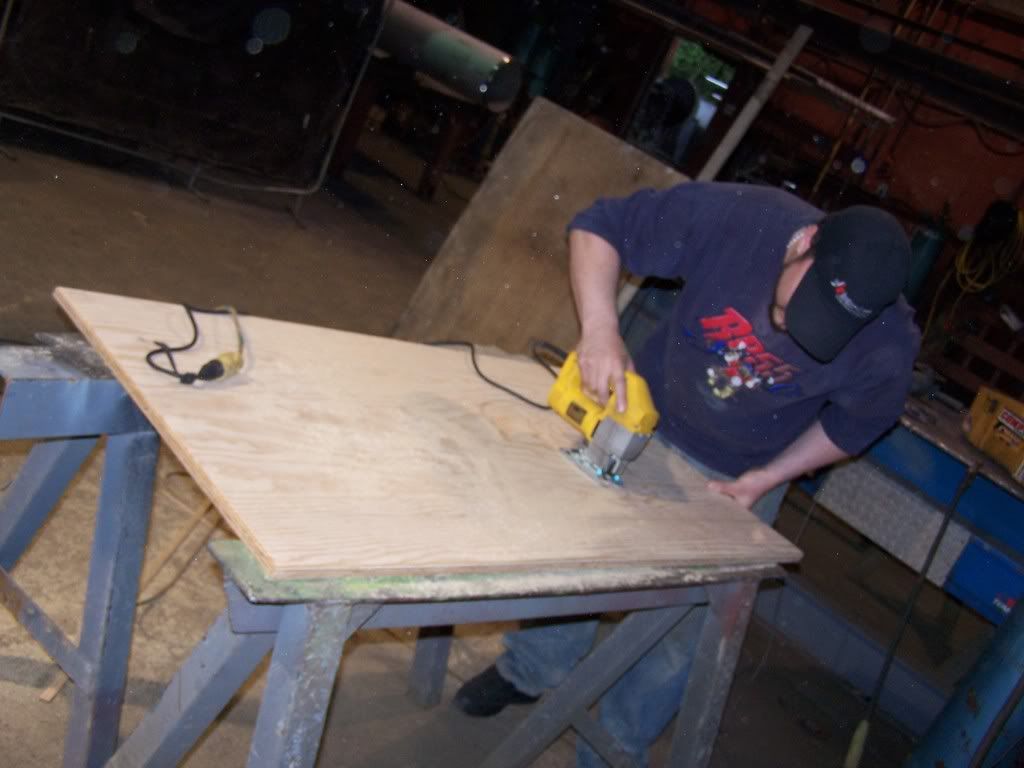
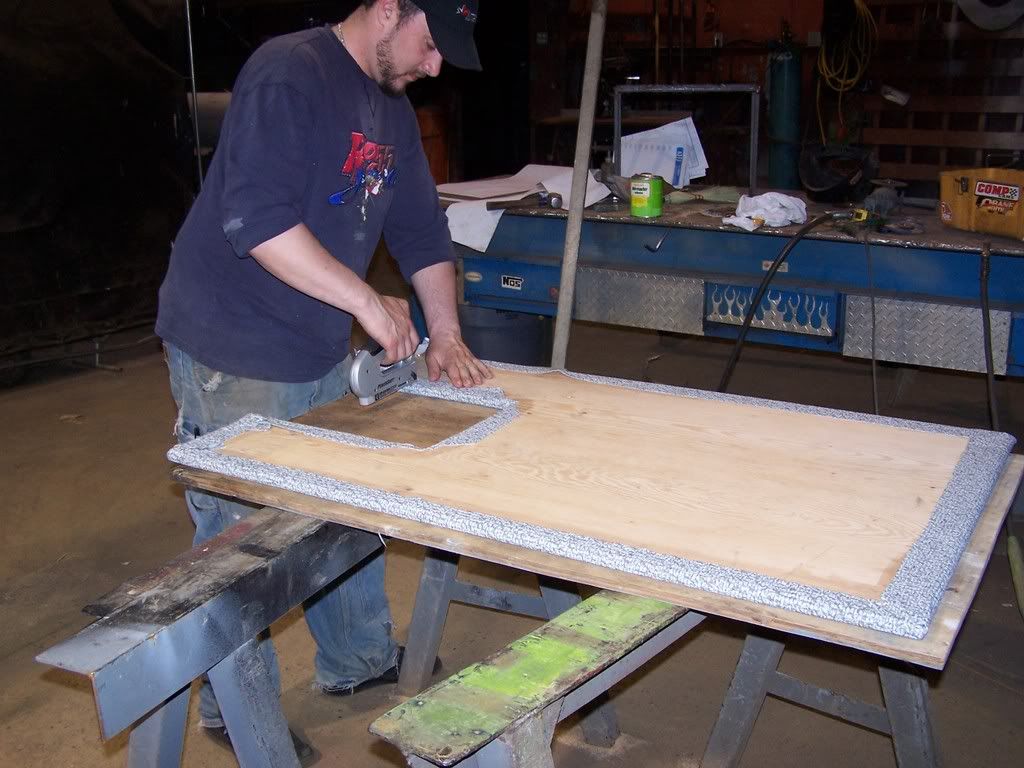
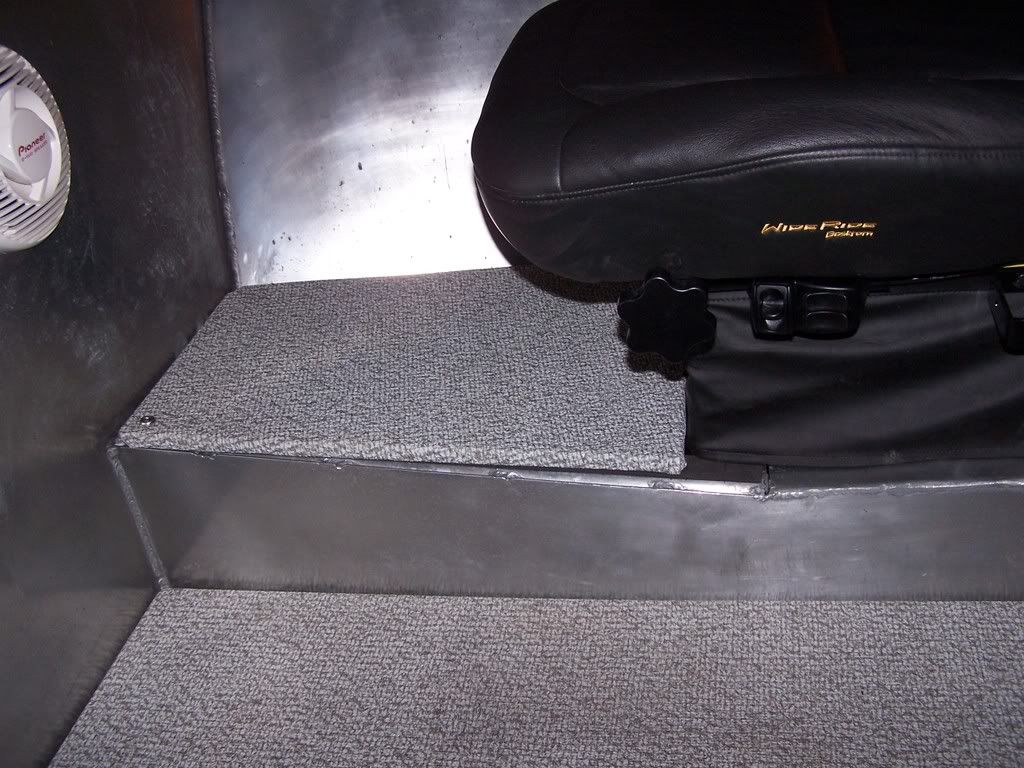
Here's an employee / friend of mine Tim grinding it down.
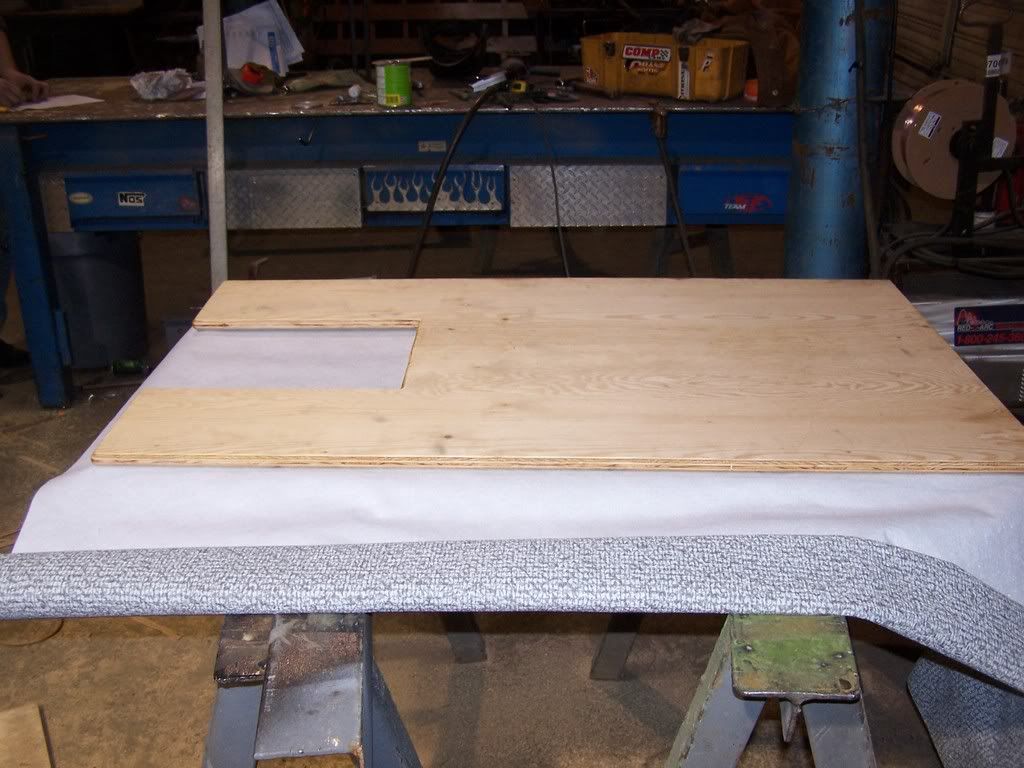
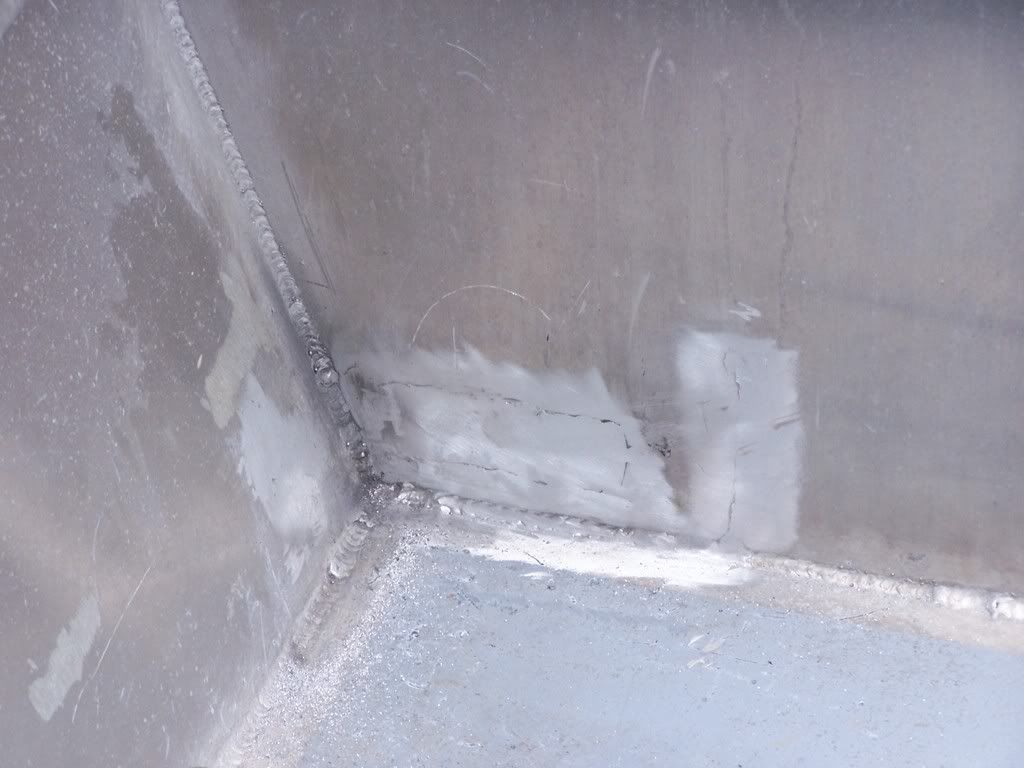
Here is the almost finished repair.
I'll post more photos of repairs and mod's as the days go on.


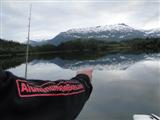
 "IRONWOODTUNA" the Alloy Sportfisherman Battleship!